.png)
Register an Attendee from the Back Office

Jun 09, 2025
 4016
4016
There are several ways to register an attendee from the back office: the event's Overview tab Registration section, the Attendees tab's Add Registration button, the Attendee Setup tab's Registration Link section section, and on the Event module event list (card view only).
|
|
Did you know? Registering an attendee from the back office can recognize your staff login and override any restrictions or settings you may have set for your registrants. For example, you may have invoicing turned off for an event, but if you register an attendee from the back office, you WILL be able to issue an invoice instead of paying immediately with a credit card. To test your settings for actual registrants, use the "Register (As Non-Staff)" option in the Registrations section of the event's Overview tab or the Attendee Setup tab's Overall Registration Options area; this will hide your staff admin permissions from the webpage and give you the "true" registration experience. |

- For the desired event, find the Registrations section on the Overview tab.

The Registrations section of the event Overview tab
Click the plus and select your option.
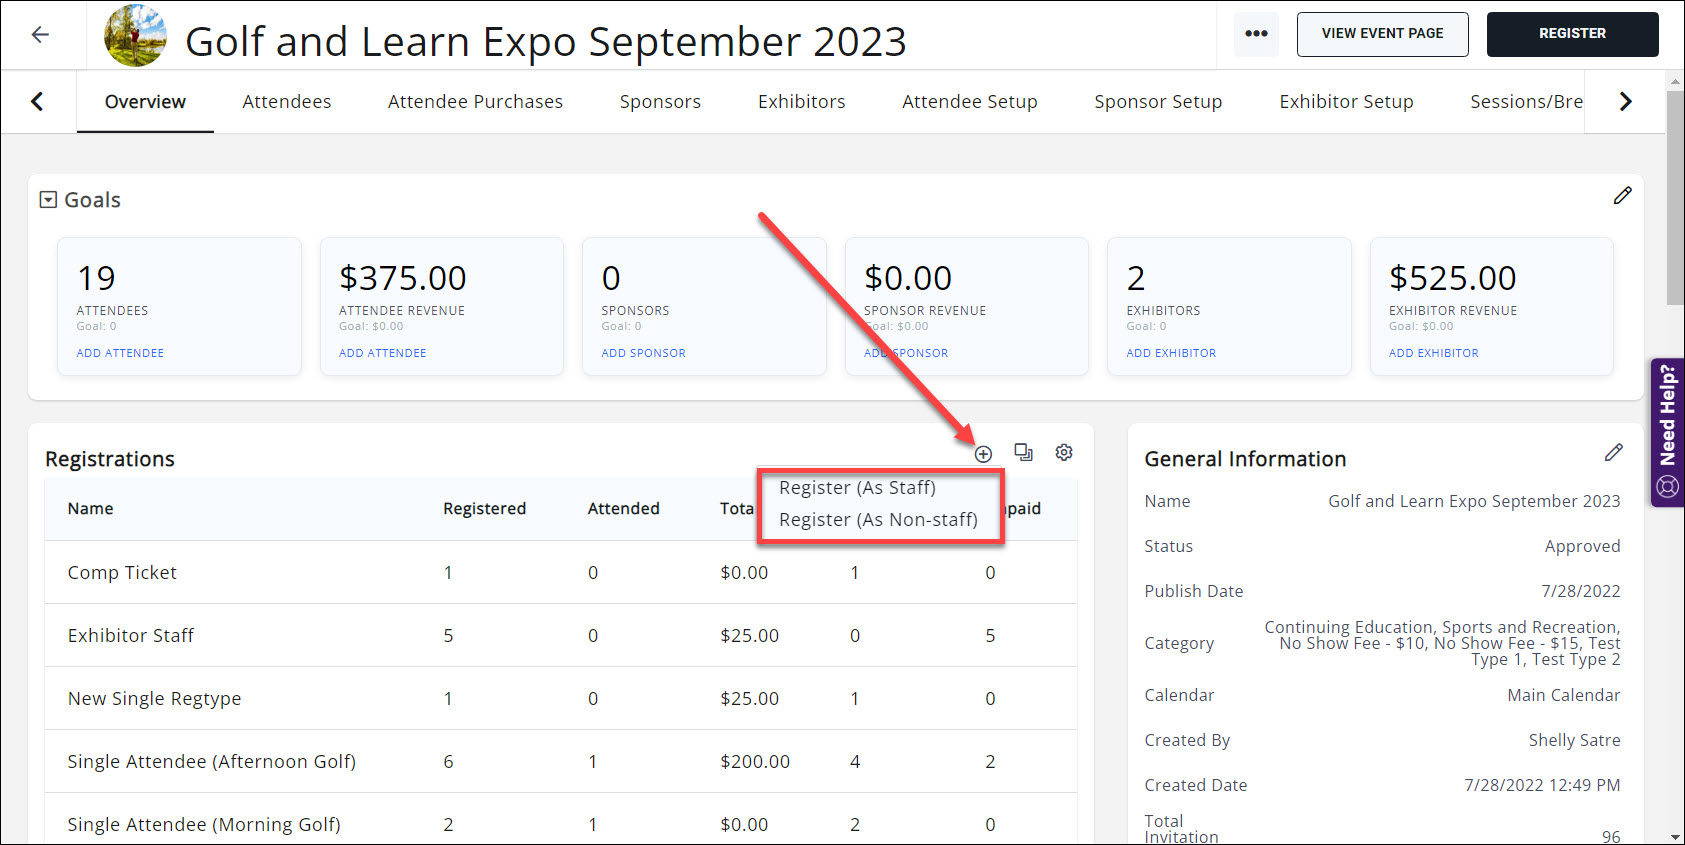
- Register (As Staff) will recognize your staff login and override any restrictions or settings you may have set for your registrants. For example, this will override many of the restrictions you may have in place such as member vs nonmember pricing, will display any staff-only registration types, and will allow you invoice an attendee even if invoicing is turned off for your registrants.

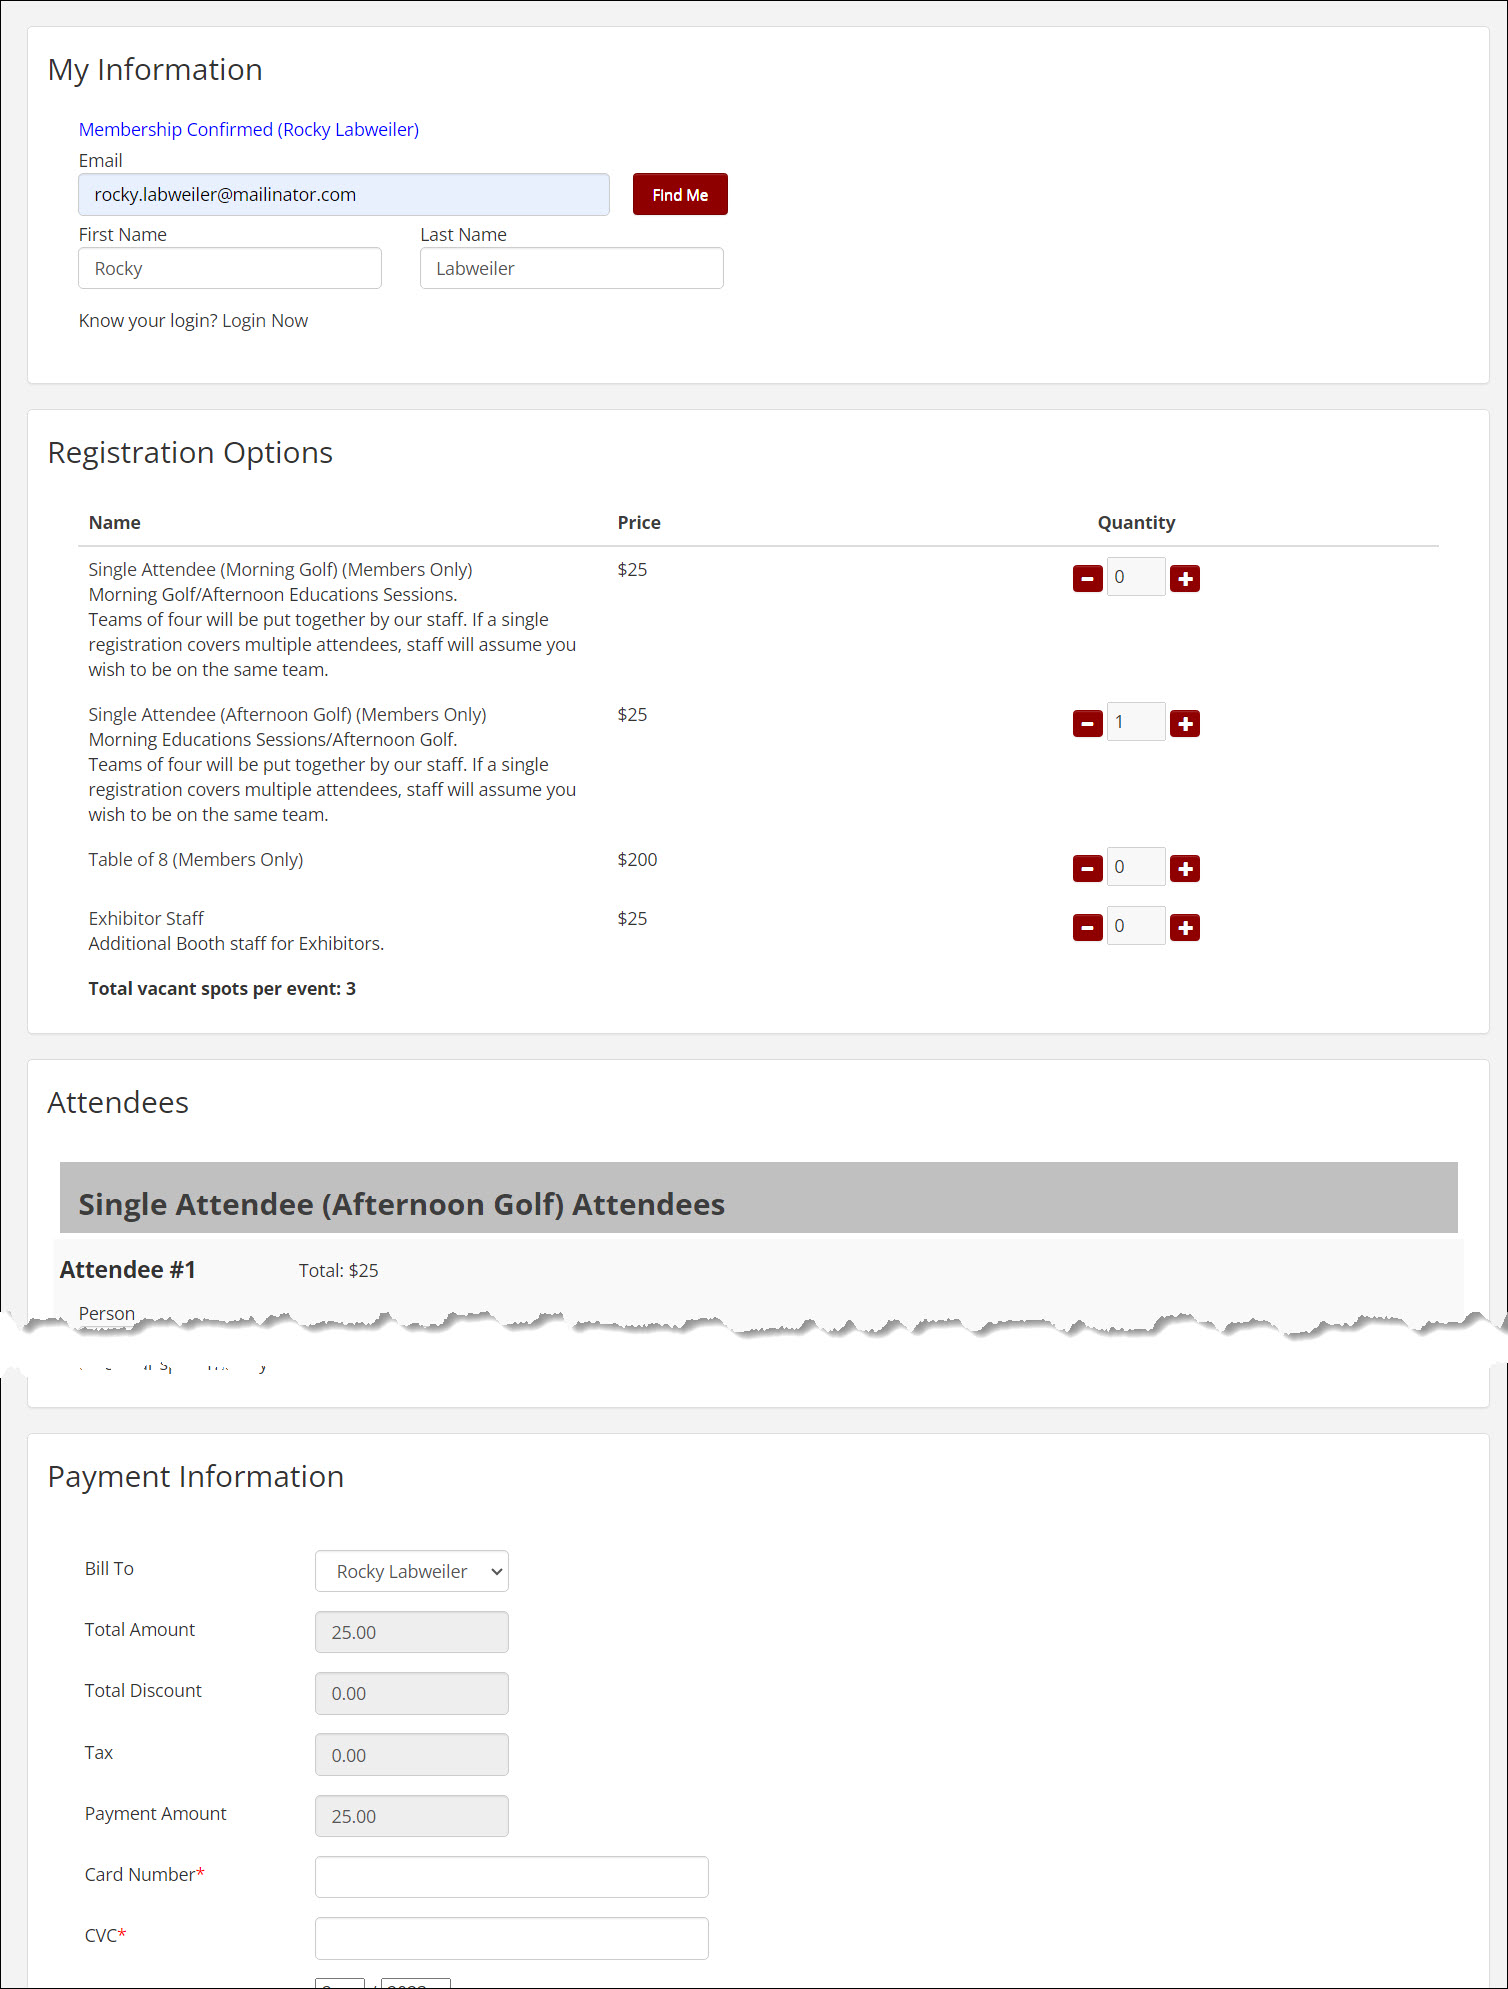
- Register (As Non-staff) will open the event registration window and prompt for an email to match, just as any standard registrant would experience. If invoicing is not enabled for the event, only the credit card payment option will display.
Attendee tab
- For the desired event, click the Attendees tab.
- Click the Add Registration button. NOTE: using this option will include your staff credentials and will override any registration restrictions such as member vs nonmember pricing, invoicing, staff only registration types, etc.

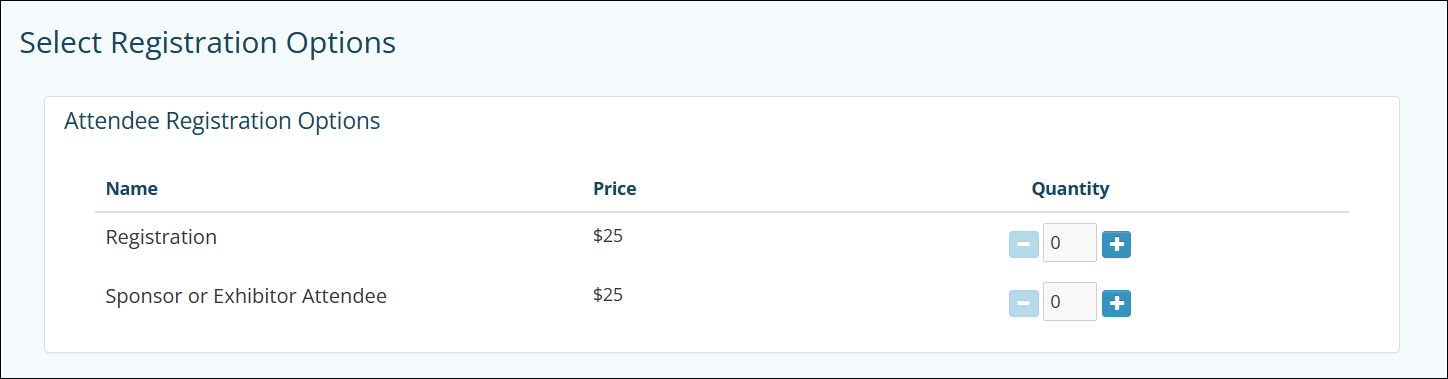
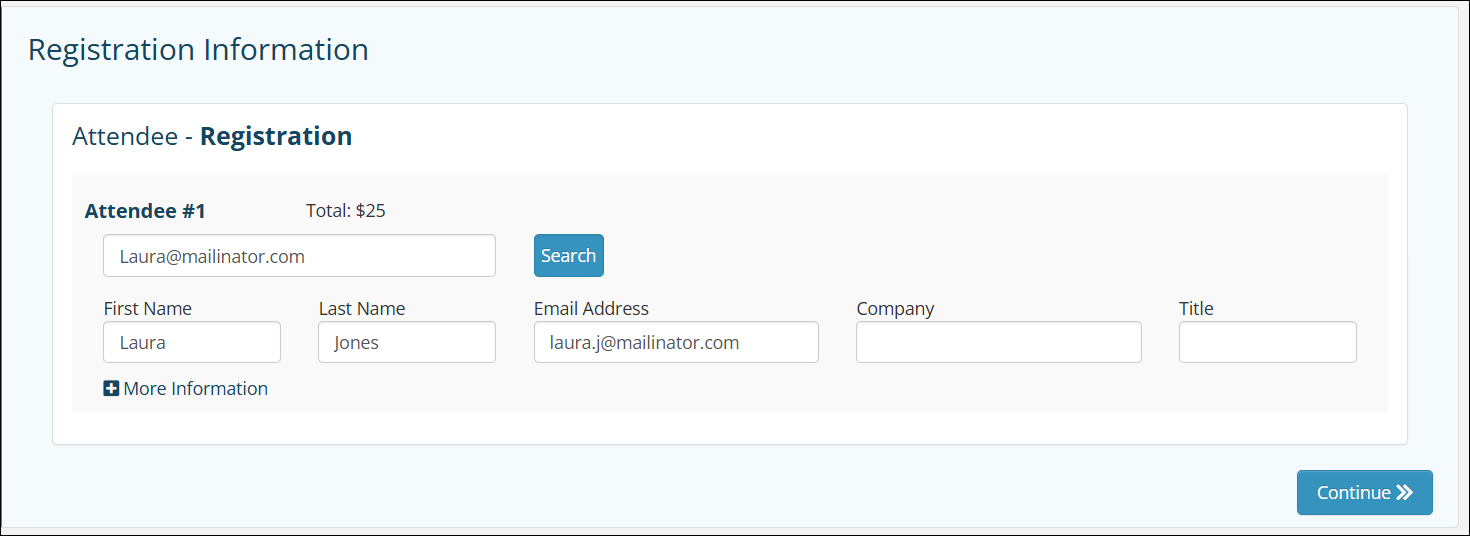
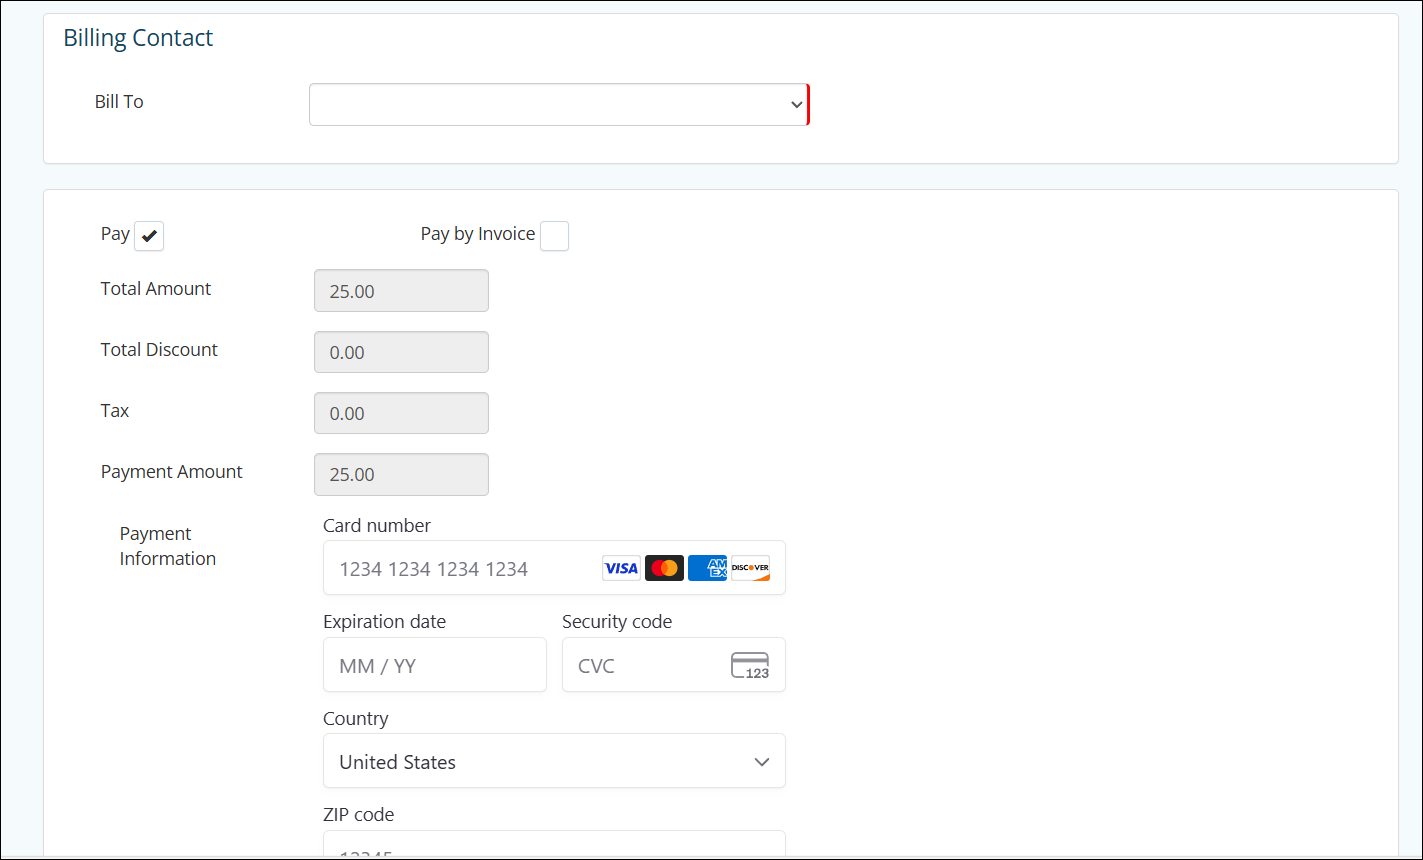
- Complete the event registration form and payment information as needed.
- Send Event Confirmation Email to Registrant: This option is enabled by default. Deselect the check-box if you do not wish to send a confirmation to the registrant. The system will record, for future reference, that the confirmation was not sent.
- Click Submit.
Attendee Setup tab
- For the desired event, click the Attendee Setup tab.

The Attendee Setup tab - In the Registration Link section, click the + sign.

Options for adding a new registration - Selecting the "Register (As Staff)" option will open the event registration window with yourself logged in as an administrator; this will override many of the restrictions you may have in place such as member vs nonmember pricing, will display any staff-only registration types, and will allow you invoice an attendee even if invoicing is turned off for your registrants.
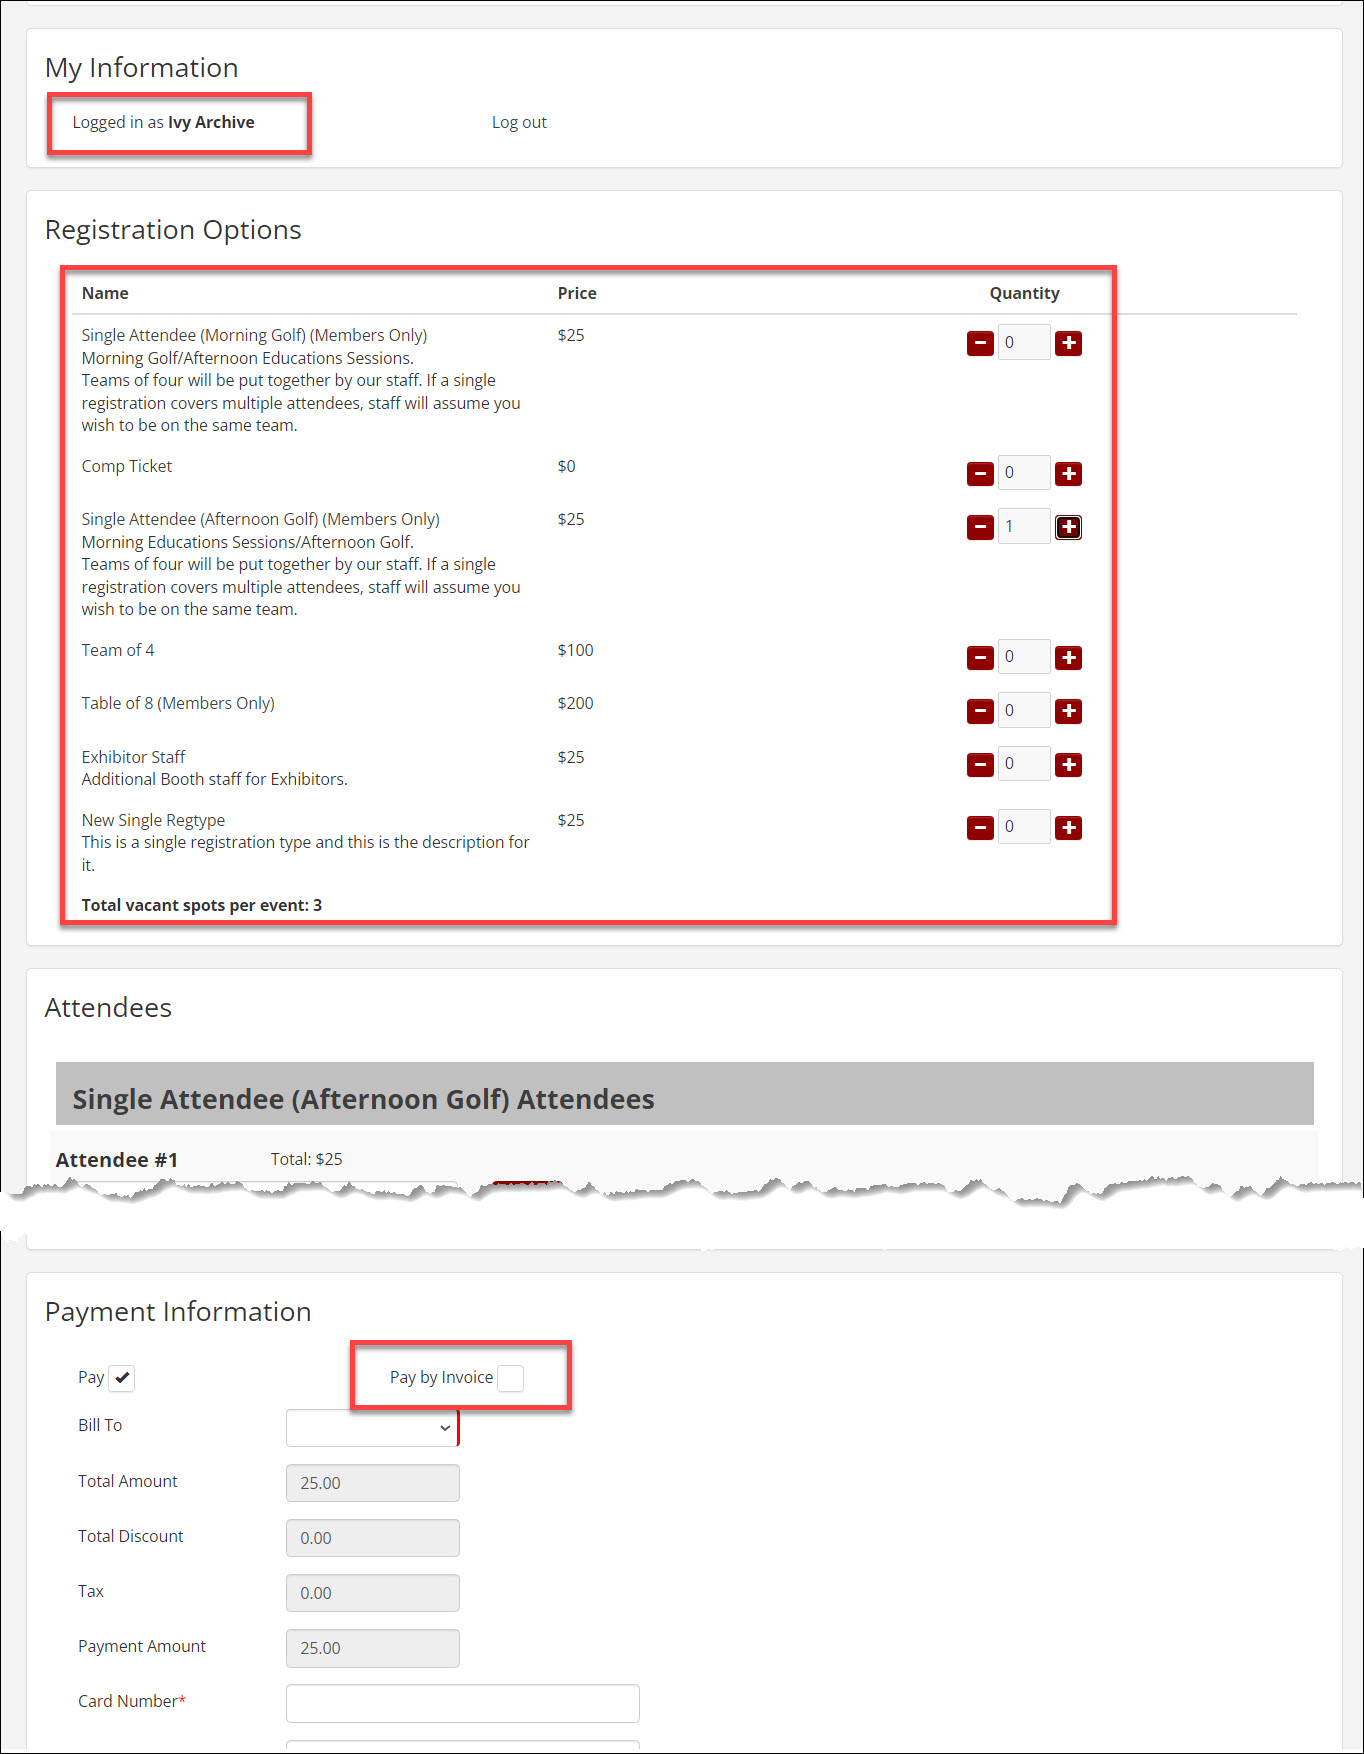
The "Register (As Staff)" option, displaying the logged in staff person, all registration types, and the ability to invoice the registrant. -
Selecting "Register (As Non-staff)" will open the event registration window and prompt for an email to match, just as any standard registrant would experience. If invoicing is not enabled for the event, only the credit card payment option will display.
The "Register (As Non-staff)" option, showing the email entry/search prompt, and only the ability to pay by credit card. - Complete the event registration form and payment information as needed.
- Send Event Confirmation Email to Registrant: This option is enabled by default. Deselect the check-box if you do not wish to send a confirmation to the registrant. The system will record, for future reference, that the confirmation was not sent.
- Click Submit.
Event module, card view
- Use the left navigation menu to open the Events module.
- Switch to the Card view if needed.

Switching to the Card view in the Events module. - Click the "Ticket" icon on the desired event. NOTE: using this option will include your staff credentials and will override any registration restrictions such as member vs nonmember pricing, invoicing, staff only registration types, etc.

Clicking the ticket icon will open the registration window for that event. - Complete the event registration form and payment information as needed.
- Send Event Confirmation Email to Registrant: This option is enabled by default. Deselect the check-box if you do not wish to send a confirmation to the registrant. The system will record, for future reference, that the confirmation was not sent.
- Click Submit.

