.png)

 3488
3488
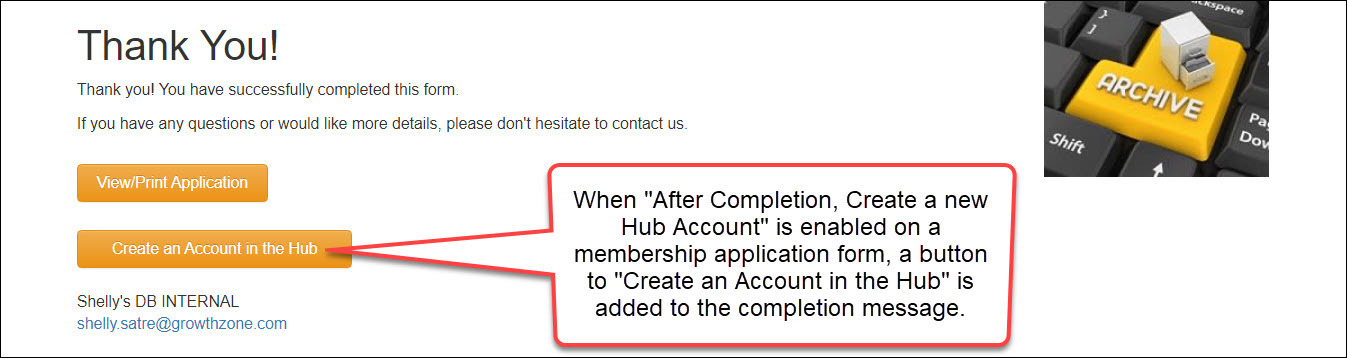
If you have configured your Member Application form to automatically provide Info Hub access, the individual filling out the member application will be shown an option to go to login page where they will be able to create their own account. The user will be given the access level you selected in the Login settings.
|
|
IMPORTANT: When trying to set an access level and send a login instructions email at the same time, AND if "Enable access levels by membership types" is enabled, it will default to the access level in the settings, NOT what is selected in the "Edit User Access" window. |

When you add new individuals to your data base (Click Here to learn more about adding new individuals), you will need to send them an email with instructions on how to setup their log-in credentials to the Info Hub:
- In the individual contact profile tab, click the ellipsis icon in the upper right
 and select User Login.

Clicking the User Login option under the more actions ellipsis - This will open the Edit User Access window.

The Edit User Access window - Select the User Access Level you wish to provide this user from the list. The default user access level (defined in Setup > Users > Login Settings) is displayed. This option provides the access level to the individual's own info (the My Info tab, the Billing options, etc.).
- If the user is affiliated to an organization(s), select the Access Level with Associated Organizations the user should have for each organization. NOTE: When the user accesses the Info Hub, if they have also been assigned a User Access Level above the one selected here, they will given them the greater of the two access levels.
- Ensure the Send Login Instructions Email check-box is selected.
- Click Done.
An email with instructions on setting up their log-in credentials will be sent, as shown below. When a receives the email to create an account and clicks the link, the user name is pre-populated with an email address to try to push customers to use this standard convention for usernames. The link in the email has a 72 hour expiration. So the link no longer usable after 72 hours. When a user clicks on one of those links in the email after that timeframe they will be prompted to request a new link.

Within the email sent to the member, they will find a link to access the Create an Account screen.

- The members email address is listed as recommended Username but they may change this.
- They may then enter their own Password. They must repeat the password; if the passwords do not match The Passwords do not match will be displayed. The user must fix the mismatch before they will be able to save the credentials.
- Click Save. The upon submission, the log-in screen will open. They will then enter their credentials to access the system.

