 4761
4761
Closing the books each month sets your numbers in stone. It’s impossible to accurately track performance if those numbers bounce around when someone finds invoices or bills that weren’t recorded on a timely basis, or when someone changes transactions from previous months (or even previous years). It is recommended that when you close a period in your accounting software that you do so in your GrowthZone software as well.
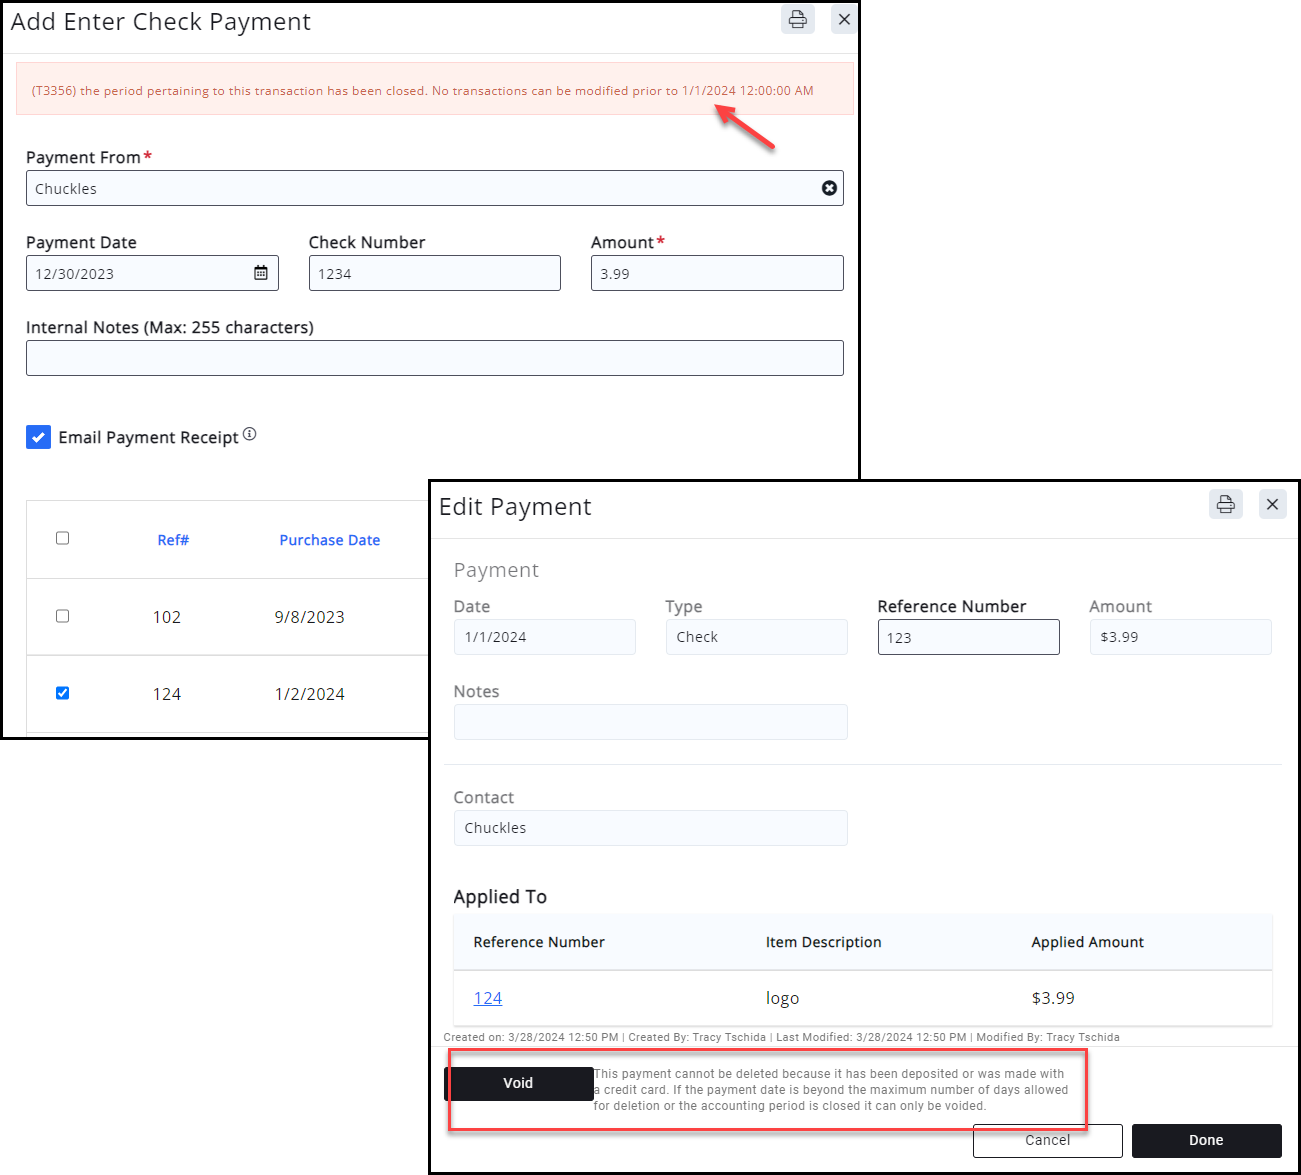
This article describes how to ensure that your accounting periods are closed. When a period is closed the following changes may not be made:
- Invoices
-
New invoices cannot be created dated prior to the period close date
-
Open invoices cannot have line items added, removed, or balances of line items changed. The only exception to this are goods/services that have been setup as type Late Fee. The system will account for the late fee items on the day they are added to the invoice, not on the original invoice date.
-
Cannot be deleted, regardless of deletion days setting
-
Cannot be voided, regardless of deletion day setting
-
-
Payments
-
Cannot be deleted, regardless of deletion day setting
-
Cannot be voided, regardless of deletion day setting
-
Cannot be created dated prior to the close date
-
-
Credits
-
Cannot be created with a date prior to the period close date
-
-
Refunds
-
Cannot be deleted, regardless of deletion day setting
-
Cannot be voided, regardless of deletion day setting
-
Cannot be created dated prior to the close date
-
Setup Period Closing
Under Setup > Finance Settings > General, you must enable Accounting Security Level = Closed Period Enabled. You will then define the Allow Deletion for (days).

IMPORTANT: The Allow Deletion Days parameter is impacted in when closing a period. The ability to delete will depend on which date is earlier.
For Example:
- Allow Deletion Days is set for 30 days
- A Payment is created on 1/1
- Current Close Date is set to 1/2
- On 1/3 staff wishes to change the payment
- Although the payment date falls within the 30 day window, because the period is closed it can not be changed

Close an Accounting Period
To close an accounting period:
- Click Setup in the left-hand navigation panel
- Click Closed Periods in the Finance section. A log of all previously closed periods, along with the date the period was closed and who closed the period will display.

- Click the Add button.

Caption - On the Closed Period screen
- Period Begin Date: This will default to the day after the last period closed. For example, if the last period closed on March 31, the Period Begin Date will default to 4/1
- Period End Date: Enter the last day to be included in this period.
- Click Close Periods(s).
The period has now been closed, and a record has been logged on the Closed Periods screen.
Reopen a Closed Accounting Period
If needed, a closed period can be reopened to correct past transactions or to create a refund:
- Click Setup in the left-hand navigation panel
- Click Closed Periods in the Finance section. A log of all previously closed periods, along with the date the period was closed and who closed the period will display.

- Click the
 icon for the period you wish to reopen. Summary information about the closed period will display

- Click Open Period(s).
- Click Yes to confirm you wish to re-open the period.
Closed Period Report
This report provides a record of each accounting period, and the beginning and ending balances in each of your accounts at the time the period was closed.
To generate the Closed Period Report:
- Click Reports in the left-hand navigation panel
- Click Closed Period Report.
- Enter desired filtering criteria.
- Click Run Report.


