.png)

 1963
1963
(Note: this process can also be used to debug/fix a broken custom badge template. See the "View Hidden Fields" section.)
|
|
NOTE: While creating your own custom badge template is available, GrowthZone Support will not troubleshoot/debug a custom template that is not working as expected. See the "View Hidden Fields" section to troubleshoot a custom badge template. |

While GrowthZone does include several badge templates by default, in some cases you may need a custom template to fit a particular printer or paper. The steps below detail how to create your own custom badge template. For this example I downloaded the “official” Avery 5392 template from Avery.com, but you may download or create whatever paper template you require.
Please note the following process was documented on a Windows 10 PC, using Office 365. The process may not work as detailed on a Mac.
Insert Merge Fields
- Once you have downloaded or created the paper layout for your badges, you will want to start inserting the merge fields. Since we are working from scratch, you may need to refer to the merge field list for the Attendee Badge template type. Go to Setup -> Document Generation Templates and click on the ellipsis icon
 to the far right of any existing Attendee Badge template; select Merge Fields to view the list.

-
Review the list of available fields in the Document Generation Merge Fields window; copy and paste or note the fields you wish to use.

IMPORTANT! Merge Fields must be entered EXACTLY as they appear in the available merge fields list- no spaces and with the appropriate capitalization!
-
Open your badge template in edit mode (see PC and Mac instructions) and begin inserting the desired fields into the template. We used the FirstName, LastName, and CompanyName fields, plus some custom text and a logo:

-
Place your cursor at the very beginning of the first merge field. Click the “Insert” tab in your Word toolbar and find the “Quick Parts” option, and select “Field”.

-
From the “Field Names” selector, choose “Next” and click OK.

-
It will look like nothing happens, but it did. Move your cursor to the beginning of the first merge field in the next cell and repeat. Do this in each cell of each badge.
View Hidden Fields
If you want to see the hidden fields you just entered:
-
Go to File -> Options. (It will be at the very bottom of the “Info” page.)

-
Click “Advanced”, then scroll to the “Show document content” section and click the option to “Show field codes instead of their values”.

-
The hidden codes you just entered will be displayed in the template document. Look for { NEXT \* MERGEFORMAT } at the beginning of each cell.

(If it’s in a different font or font size don’t worry; they don’t affect the actual formatting of the document.) If one got missed or duplicated, you can add it just as you did before or delete the extra field if needed.
-
After verifying the “Next” operators are in place where they should be, switch the field codes off (File -> Options -> Advanced -> Show document content -> uncheck Show field codes instead of their values). Save your file.
Upload Your Custom Badge Template
Navigate back to Setup -> Document Generation Templates and click the Add ![]() button.
button.
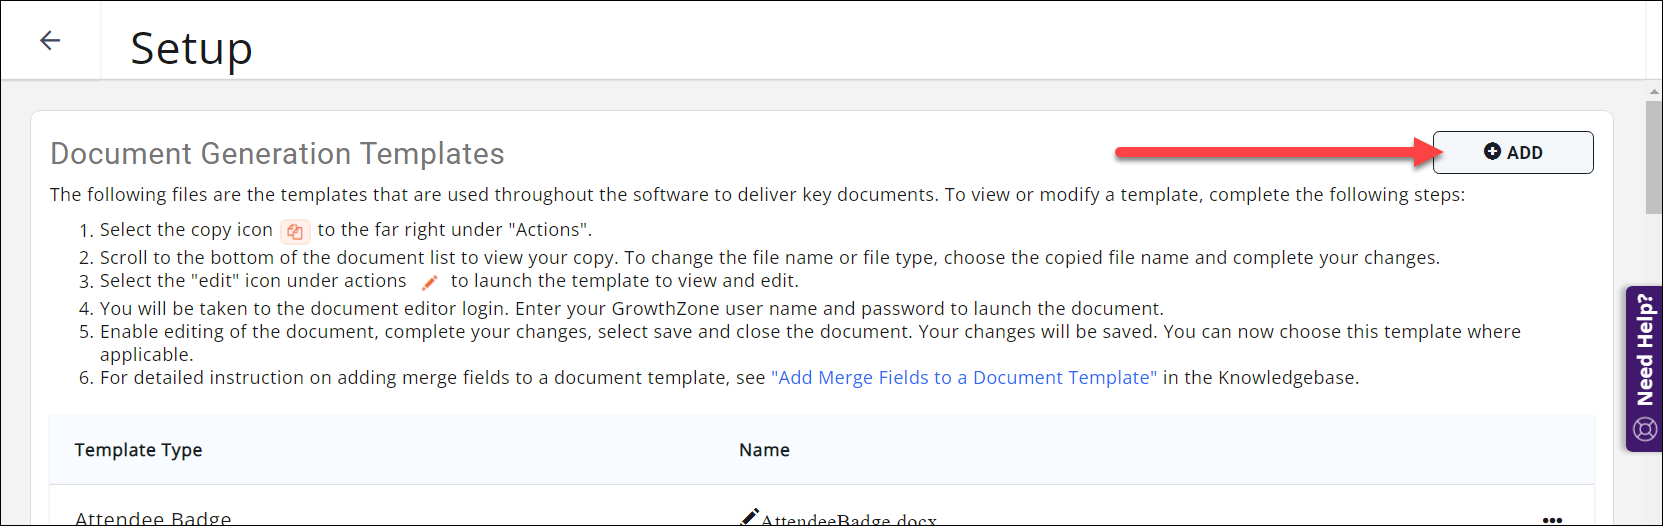
In the Add Document Generation Template window:
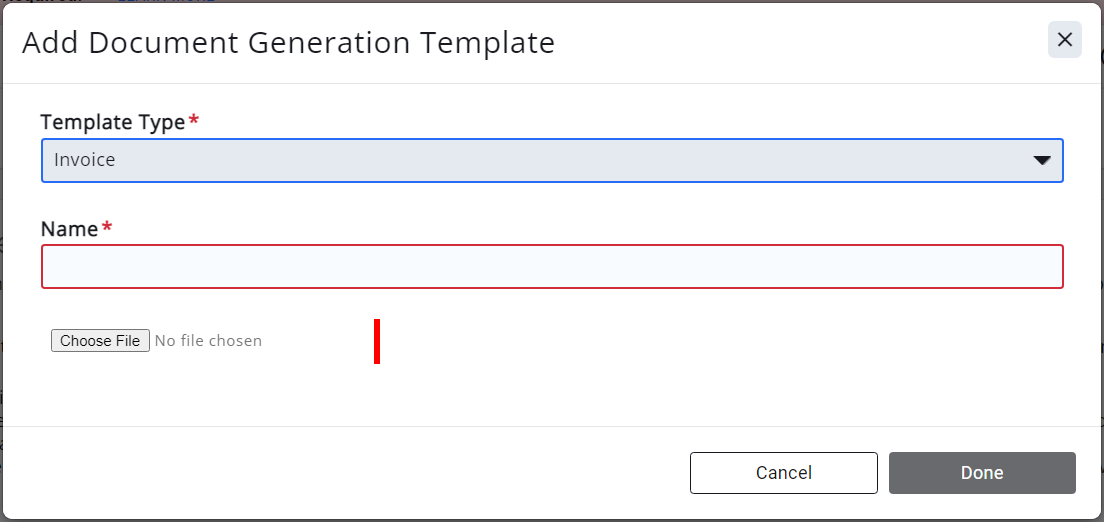
- Set the Template Type to Attendee Badge.
- Give the Template a Name.
- Click the Choose File button and select the file you saved in step 4.
- The window will briefly show an upload status bar that will disappear (see video below).
Click Done and the template will now appear in your template list.
Use the Badge Template
Download the badges for your desired event. In the Edit Event Attendee Badges Print window, point the system to the template you just uploaded and click Done to complete the download..
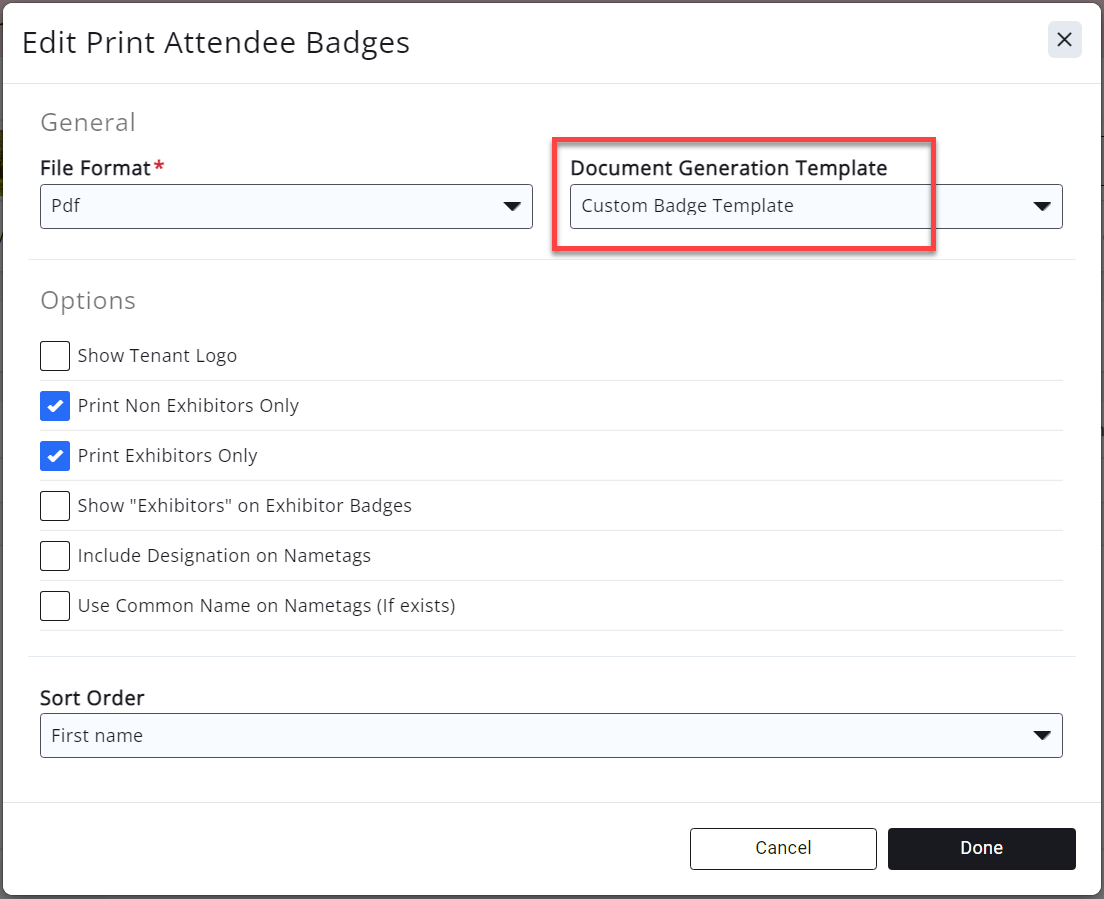
Voila! You have event name badges in exactly the format you wanted!


