.png)
View or Edit Contacts on a List/Committee

Feb 28, 2024
 2841
2841
You may view and/or add contacts to a List/Committee on the Contacts tab. NOTE: You can also add individual members to the list/committees from their contact page.
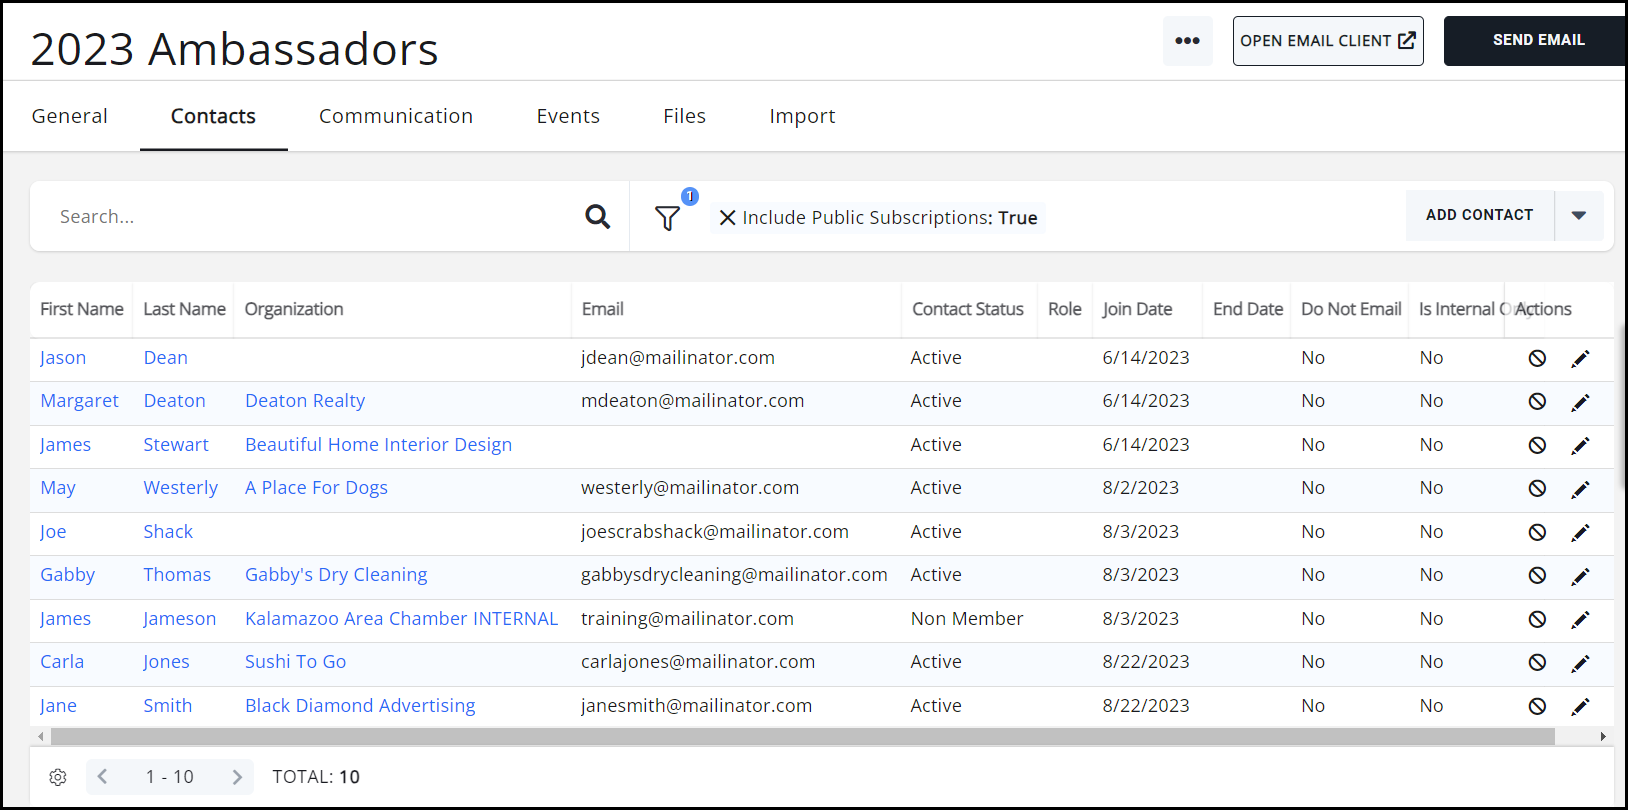
View Contacts on a List/Committee
- Click Lists/Committee in the Navigation Panel. A list of the lists/committees currently configured in your system will be displayed.
- Click the name of the list you want to view.
- Click the Contacts tab. A list of all of the contacts in the list/committee will be displayed. NOTE: The Include Public Subscriptions filter is applied, by default, to the list of contacts. To clear this filter, click the X to the left of the filter display.
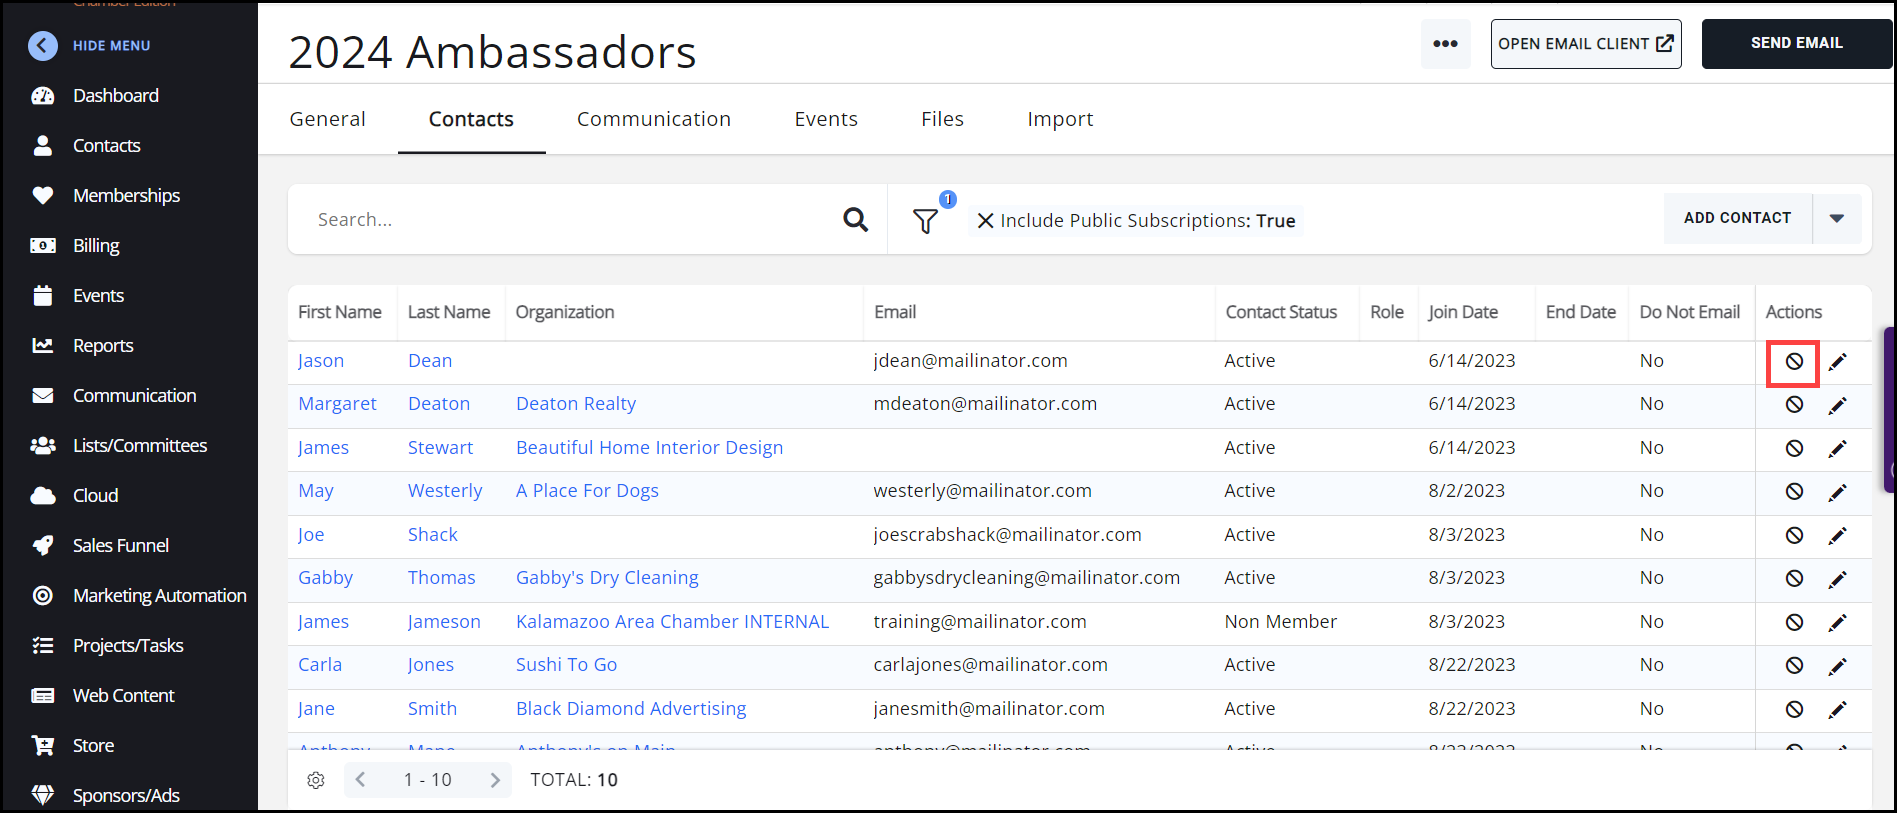
Edit Contacts on a List/Committee
- Click Lists/Committee in the Navigation Panel. A list of the lists/committees currently configured in your system will be displayed.
- Click the name of the list you want to view.
- Click the Contacts tab. A list of all of the contacts in the list/committee will be displayed. NOTE: The Include Public Subscriptions filter is applied, by default, to the list of contacts. To clear this filter, click the X to the left of the filter display.
-
Click the Inactivate icon of the contact you wish to edit.
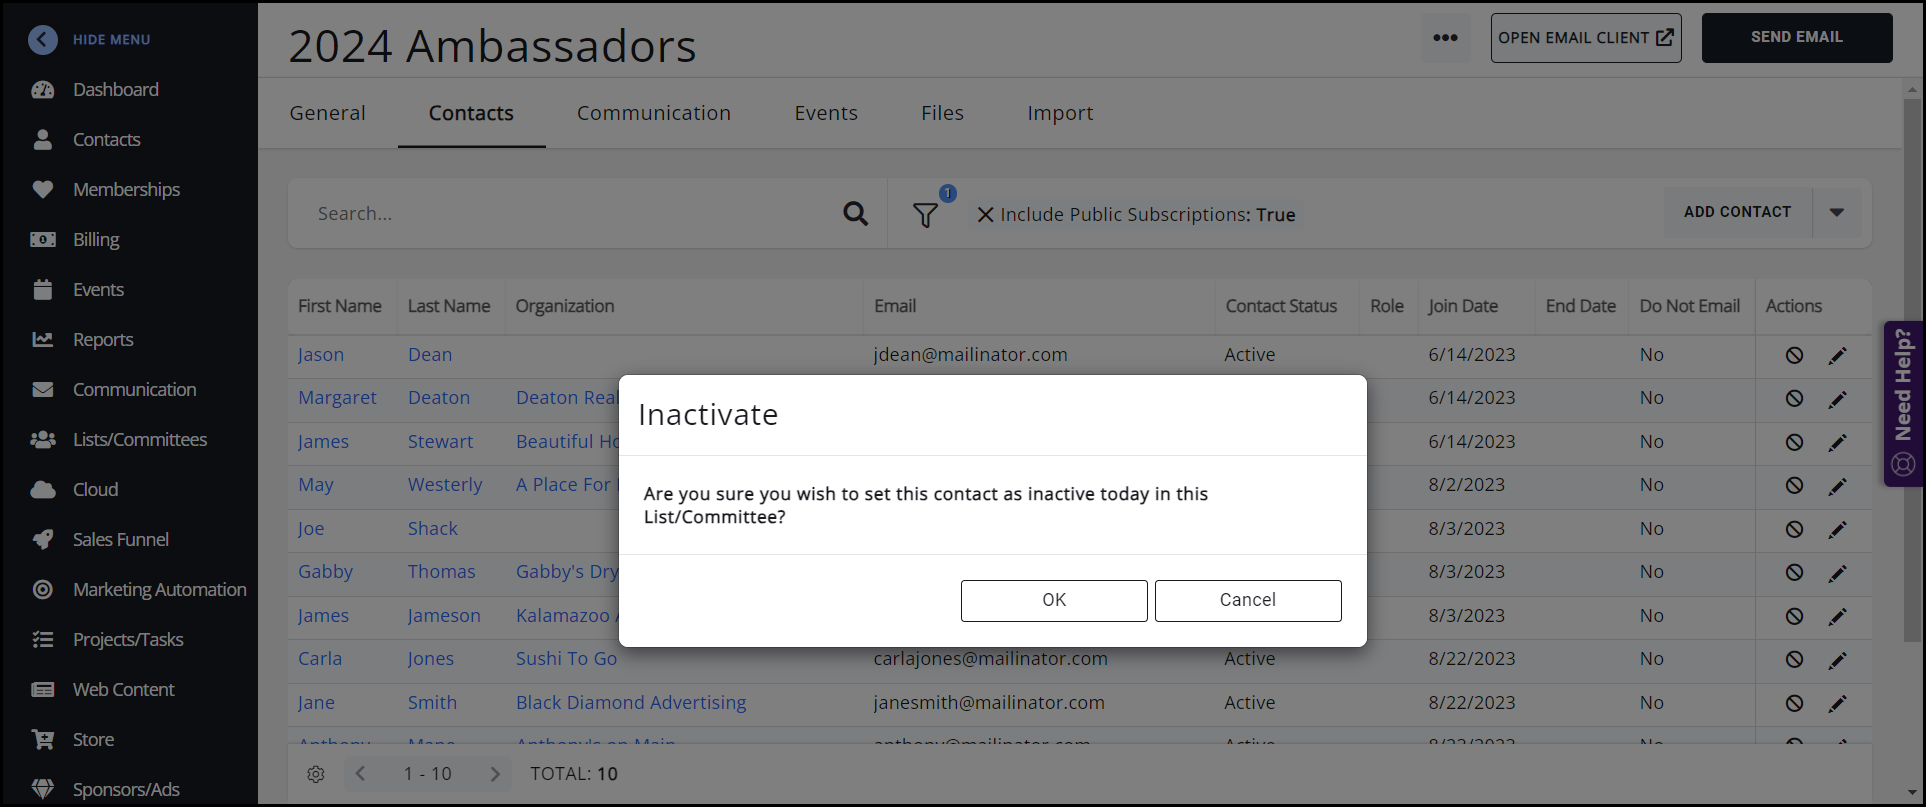
-
The Inactivate window will open for you to confirm.
- Update the fields as needed:
- You may add or edit a Role for this contact (this is a list/committee-specific Role and will not affect their contact record.)
- If the contact has more than one email address, you can select the appropriate address for this list in the Email Address dropdown.
- You may modify the day the contact joined the list in the Join Date field. By default, this date will be the day the contact was added to the list.
- Adding a date to the Drop Date field will deactivate the contact in the list; they will remain as a historical contact, and will no longer receive any emails for this list.
- You may drop a contact from this list by unchecking the Active box. The Drop Date will automatically populate with today's date.
- You may keep the contact in the list, but prevent emails from being sent to the contact by enabling the Do Not Contact option.
- You may update the contact's display order by modifying the Display Order setting.
- Click Done.

