
 1038
1038
After connecting a Card Reader you're ready to collect payments from your members, event attendees, or the general public. This section will walk you through each step of collecting a payment.
![]() To order a Card Reader for your GZ Pay App, please use this link:
To order a Card Reader for your GZ Pay App, please use this link:
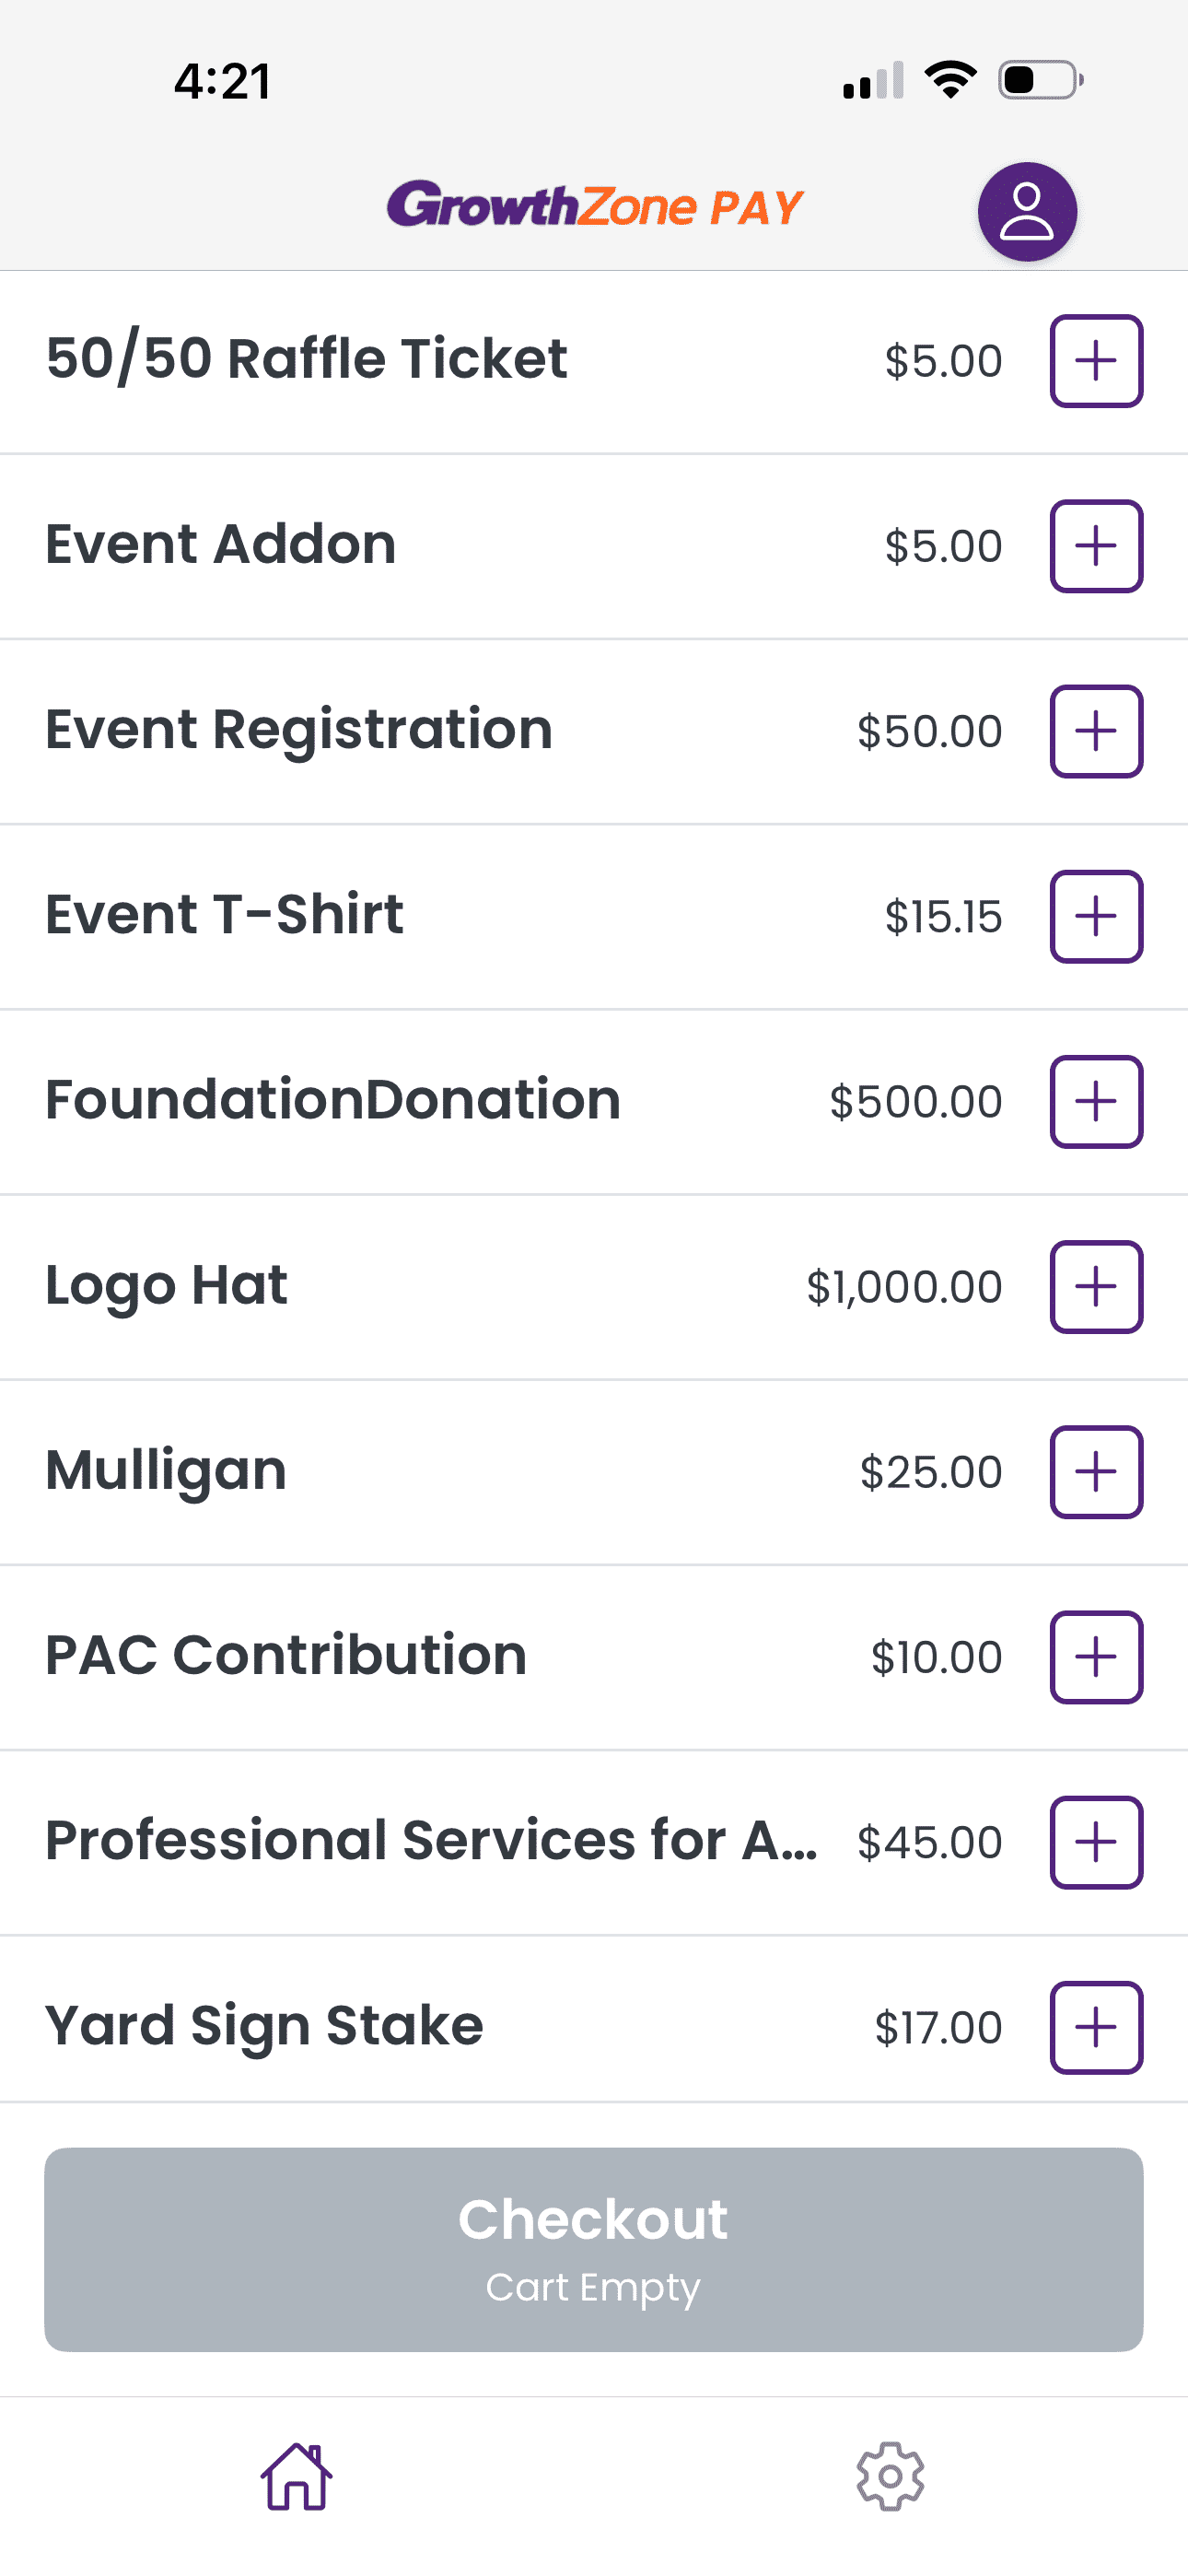
Item List
This is the default view of items for sale in the app. This list contains all fee items that you've previously flagged in GrowthZone for use in the app. The Checkout button displays the number of items and the total value of the cart.
Select items to sell by either tapping the plus icon next to an item or tapping on the item's name. Tapping on the item's name will allow you to adjust the quantity of the item to add to the cart.
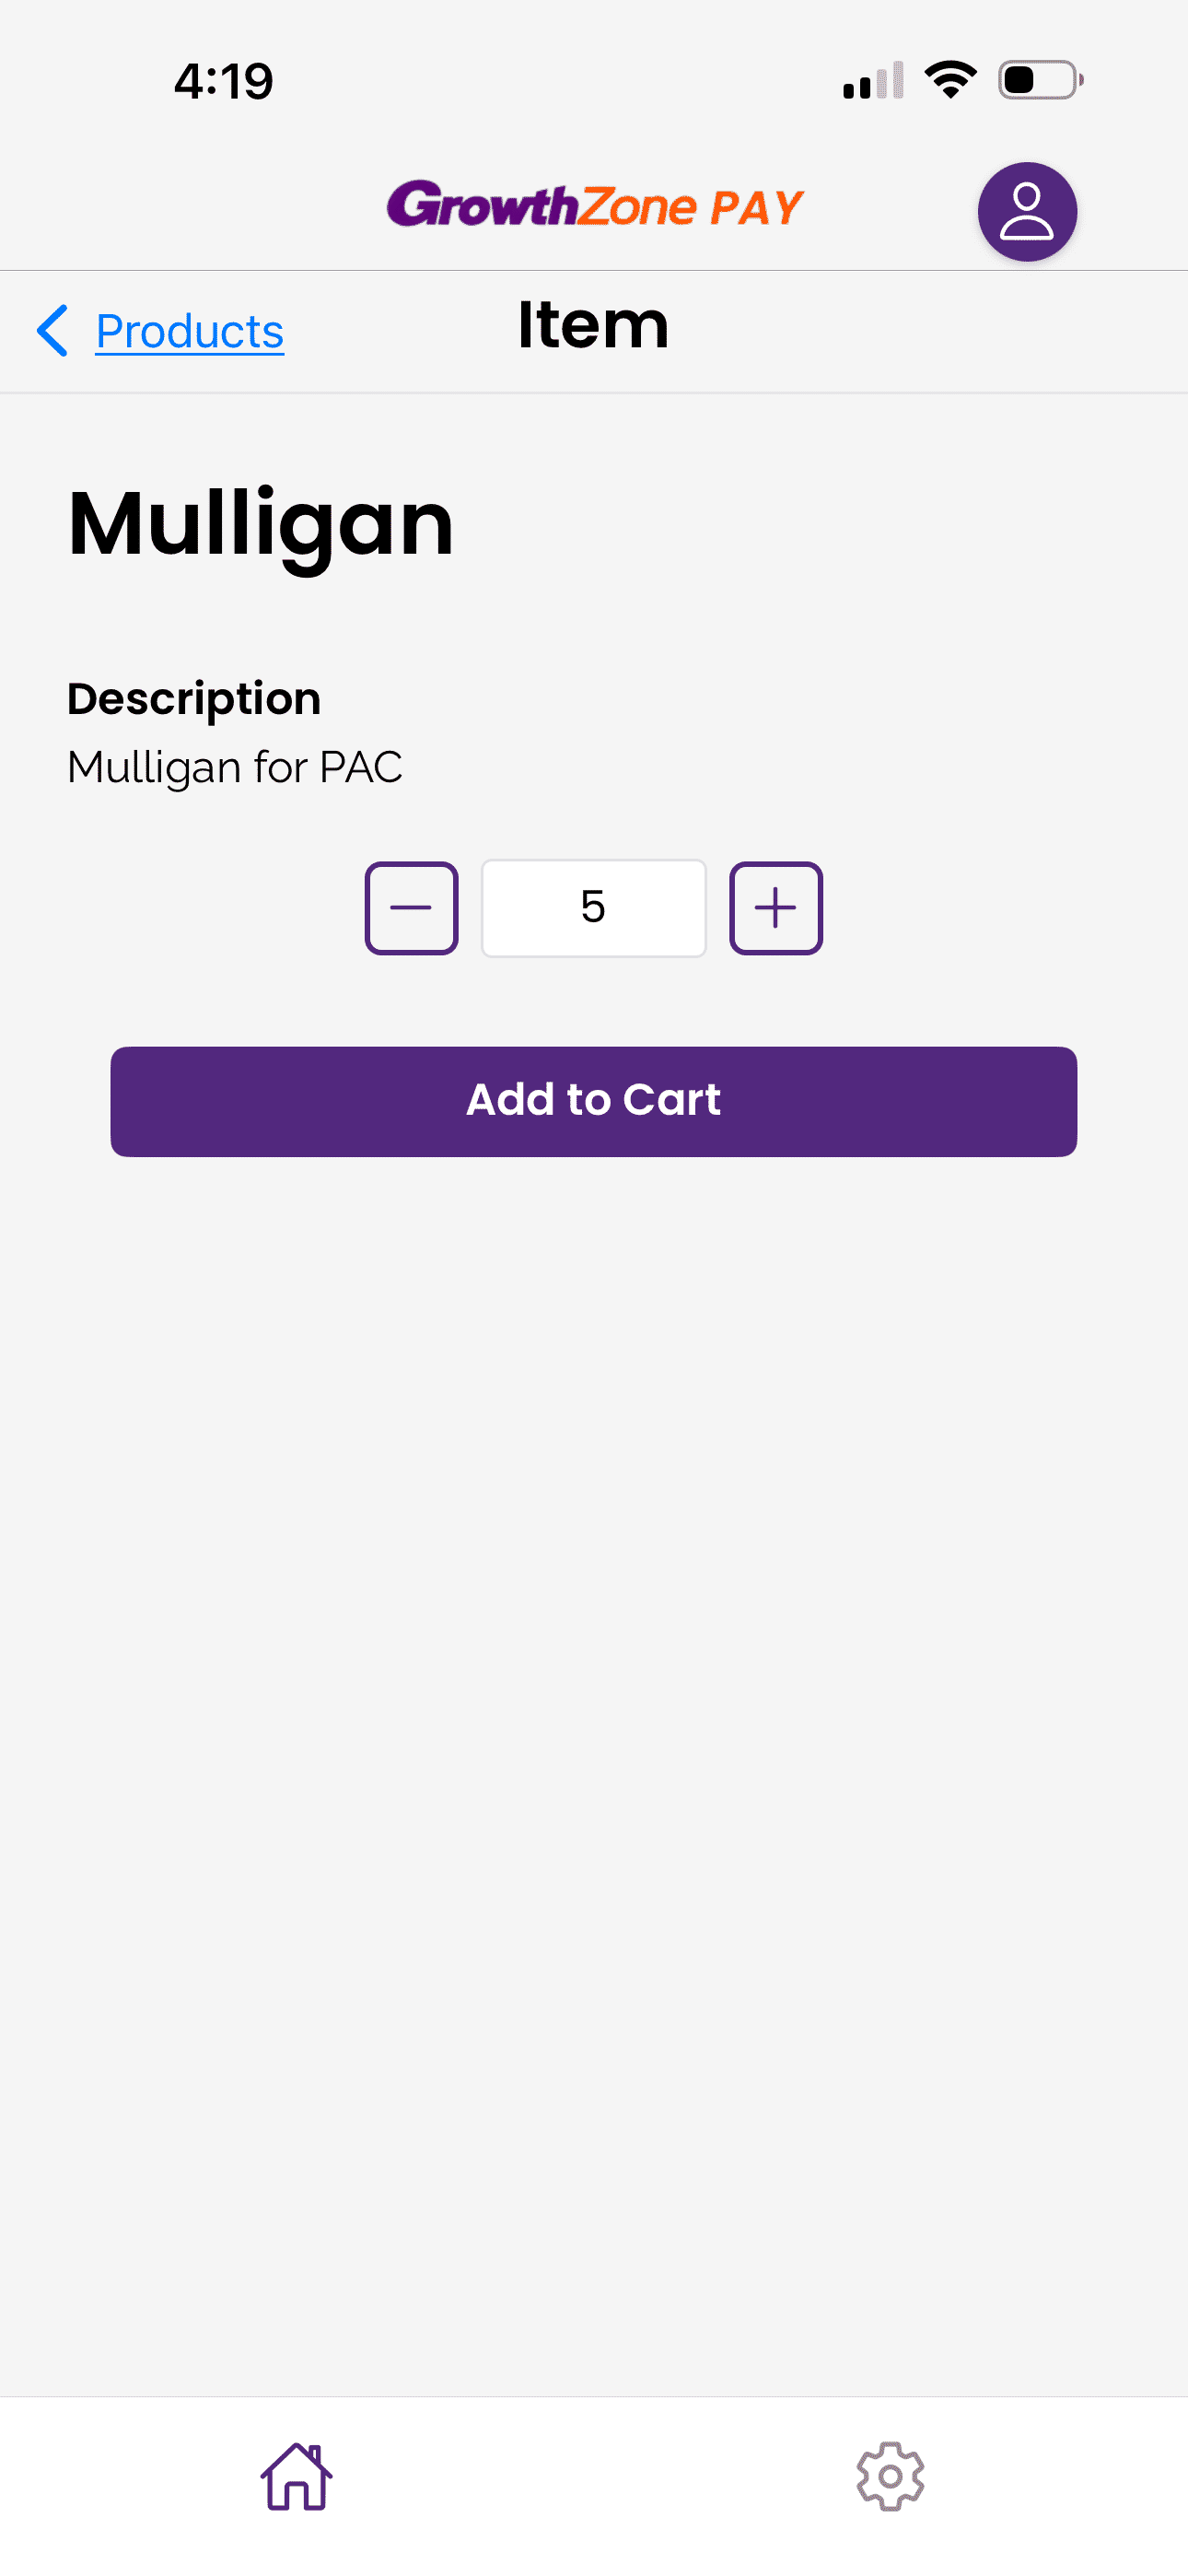
Item Detail
Adjust the quantity of an item that you'd like to add to the cart. The plus and minus icons adjust the quantity one at a time while the number field will accept any quantity. Tap Add to Cart to confirm your selection. Tap Products to return to the Item List.
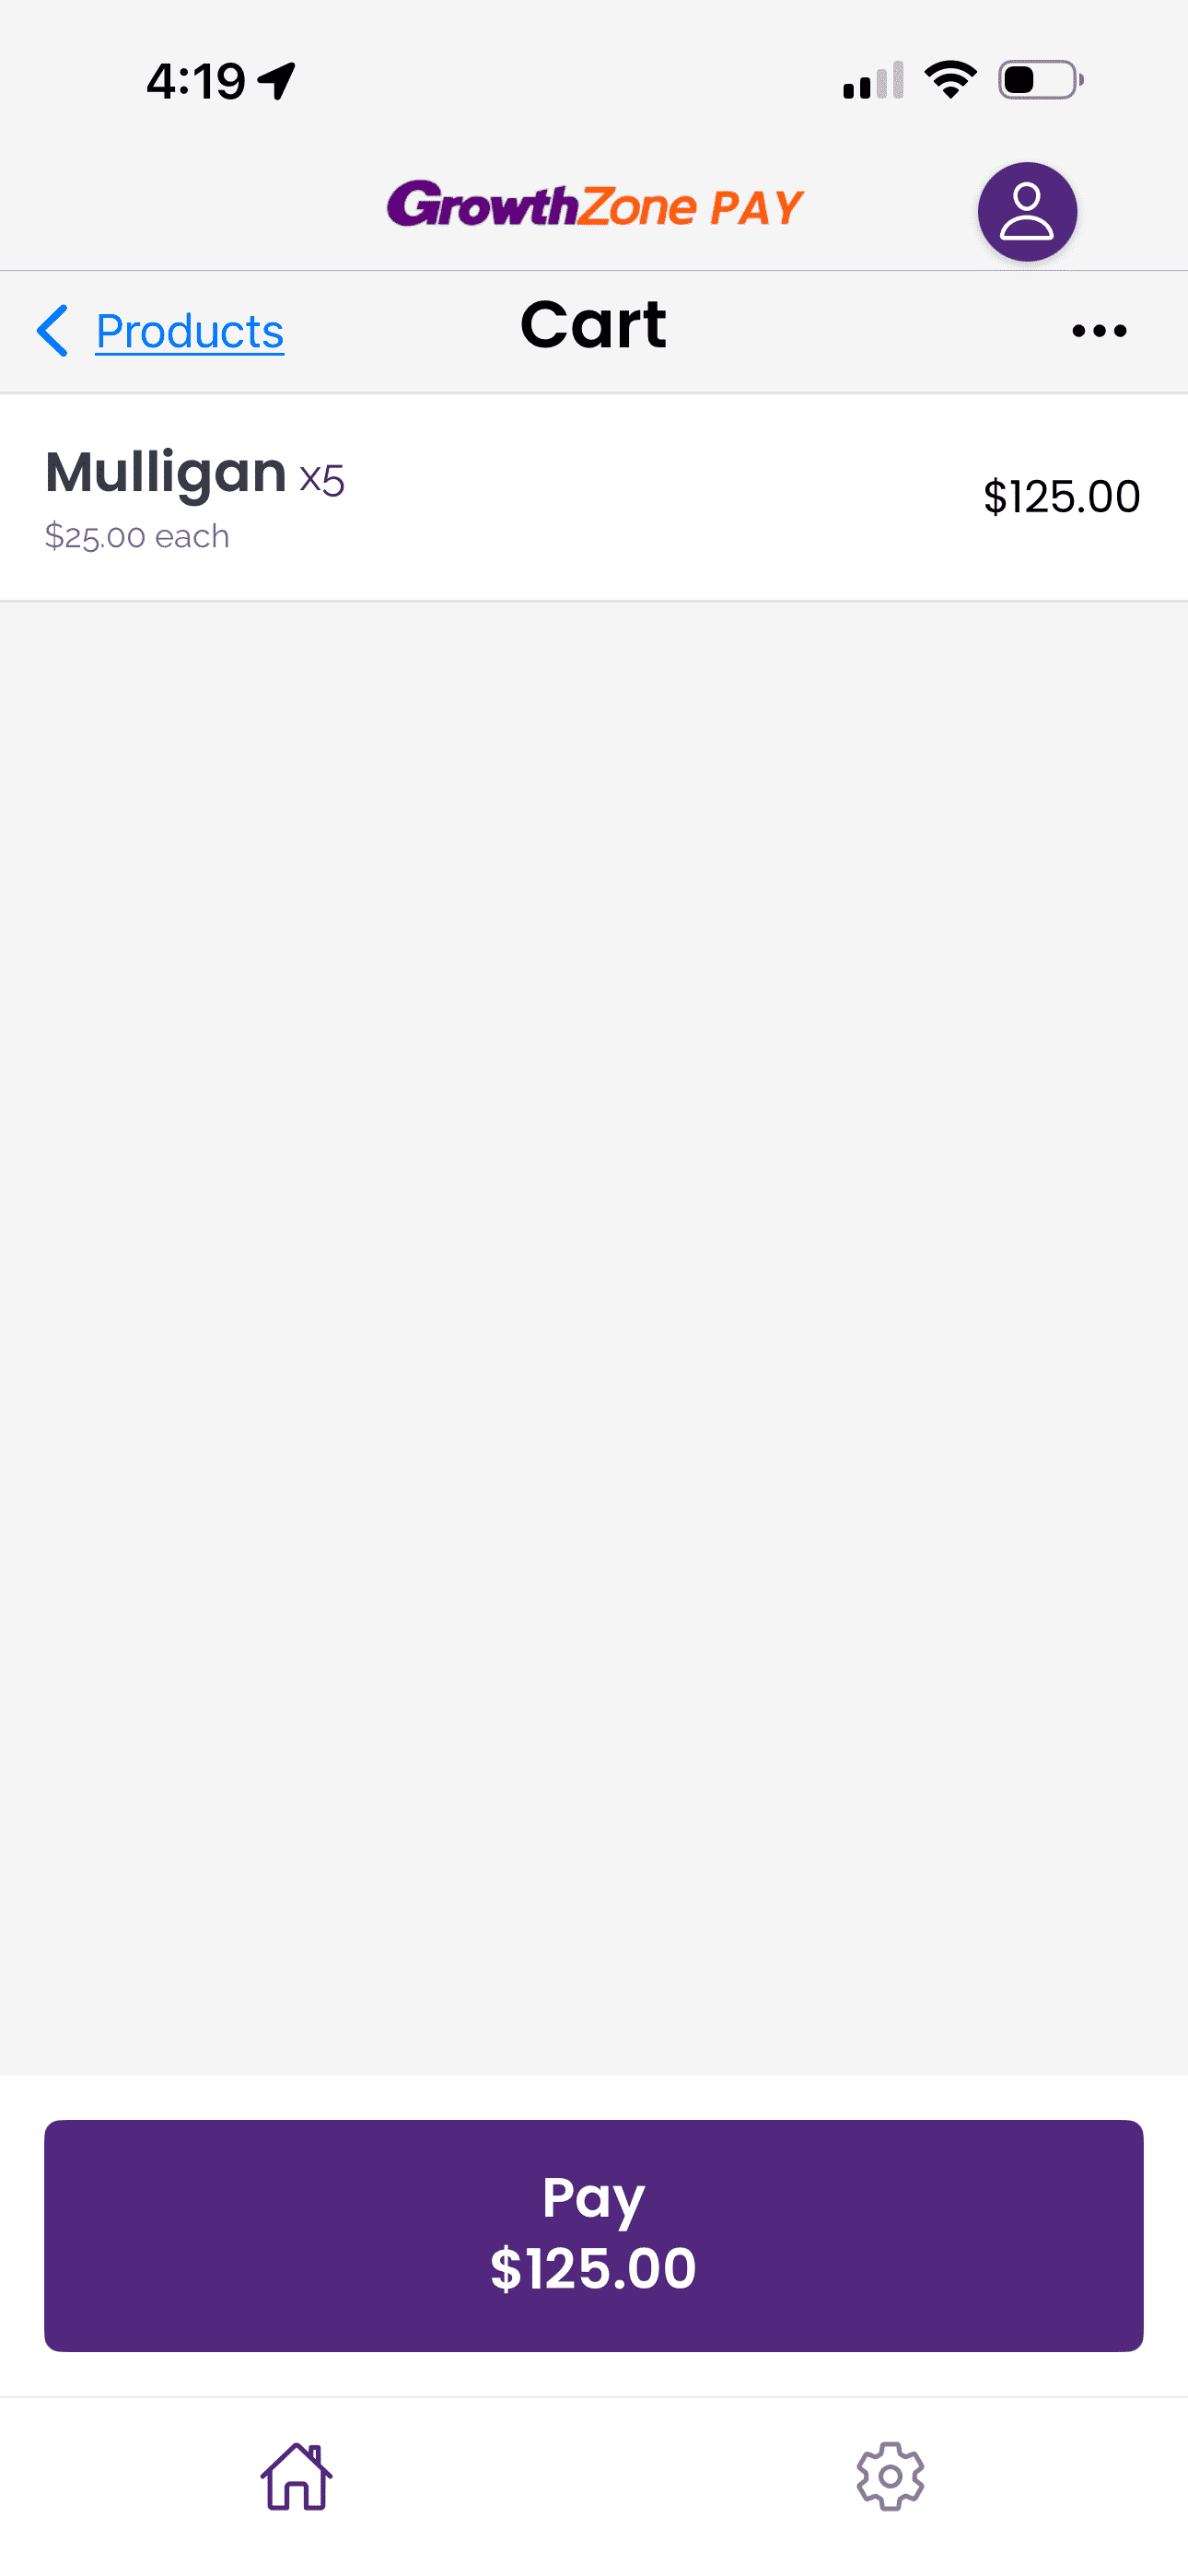
Cart
Items you've added to the cart are visible for review before you continue on in the checkout process. Tap on an item to adjust its price or quantity. Tap Pay to continue checking out.
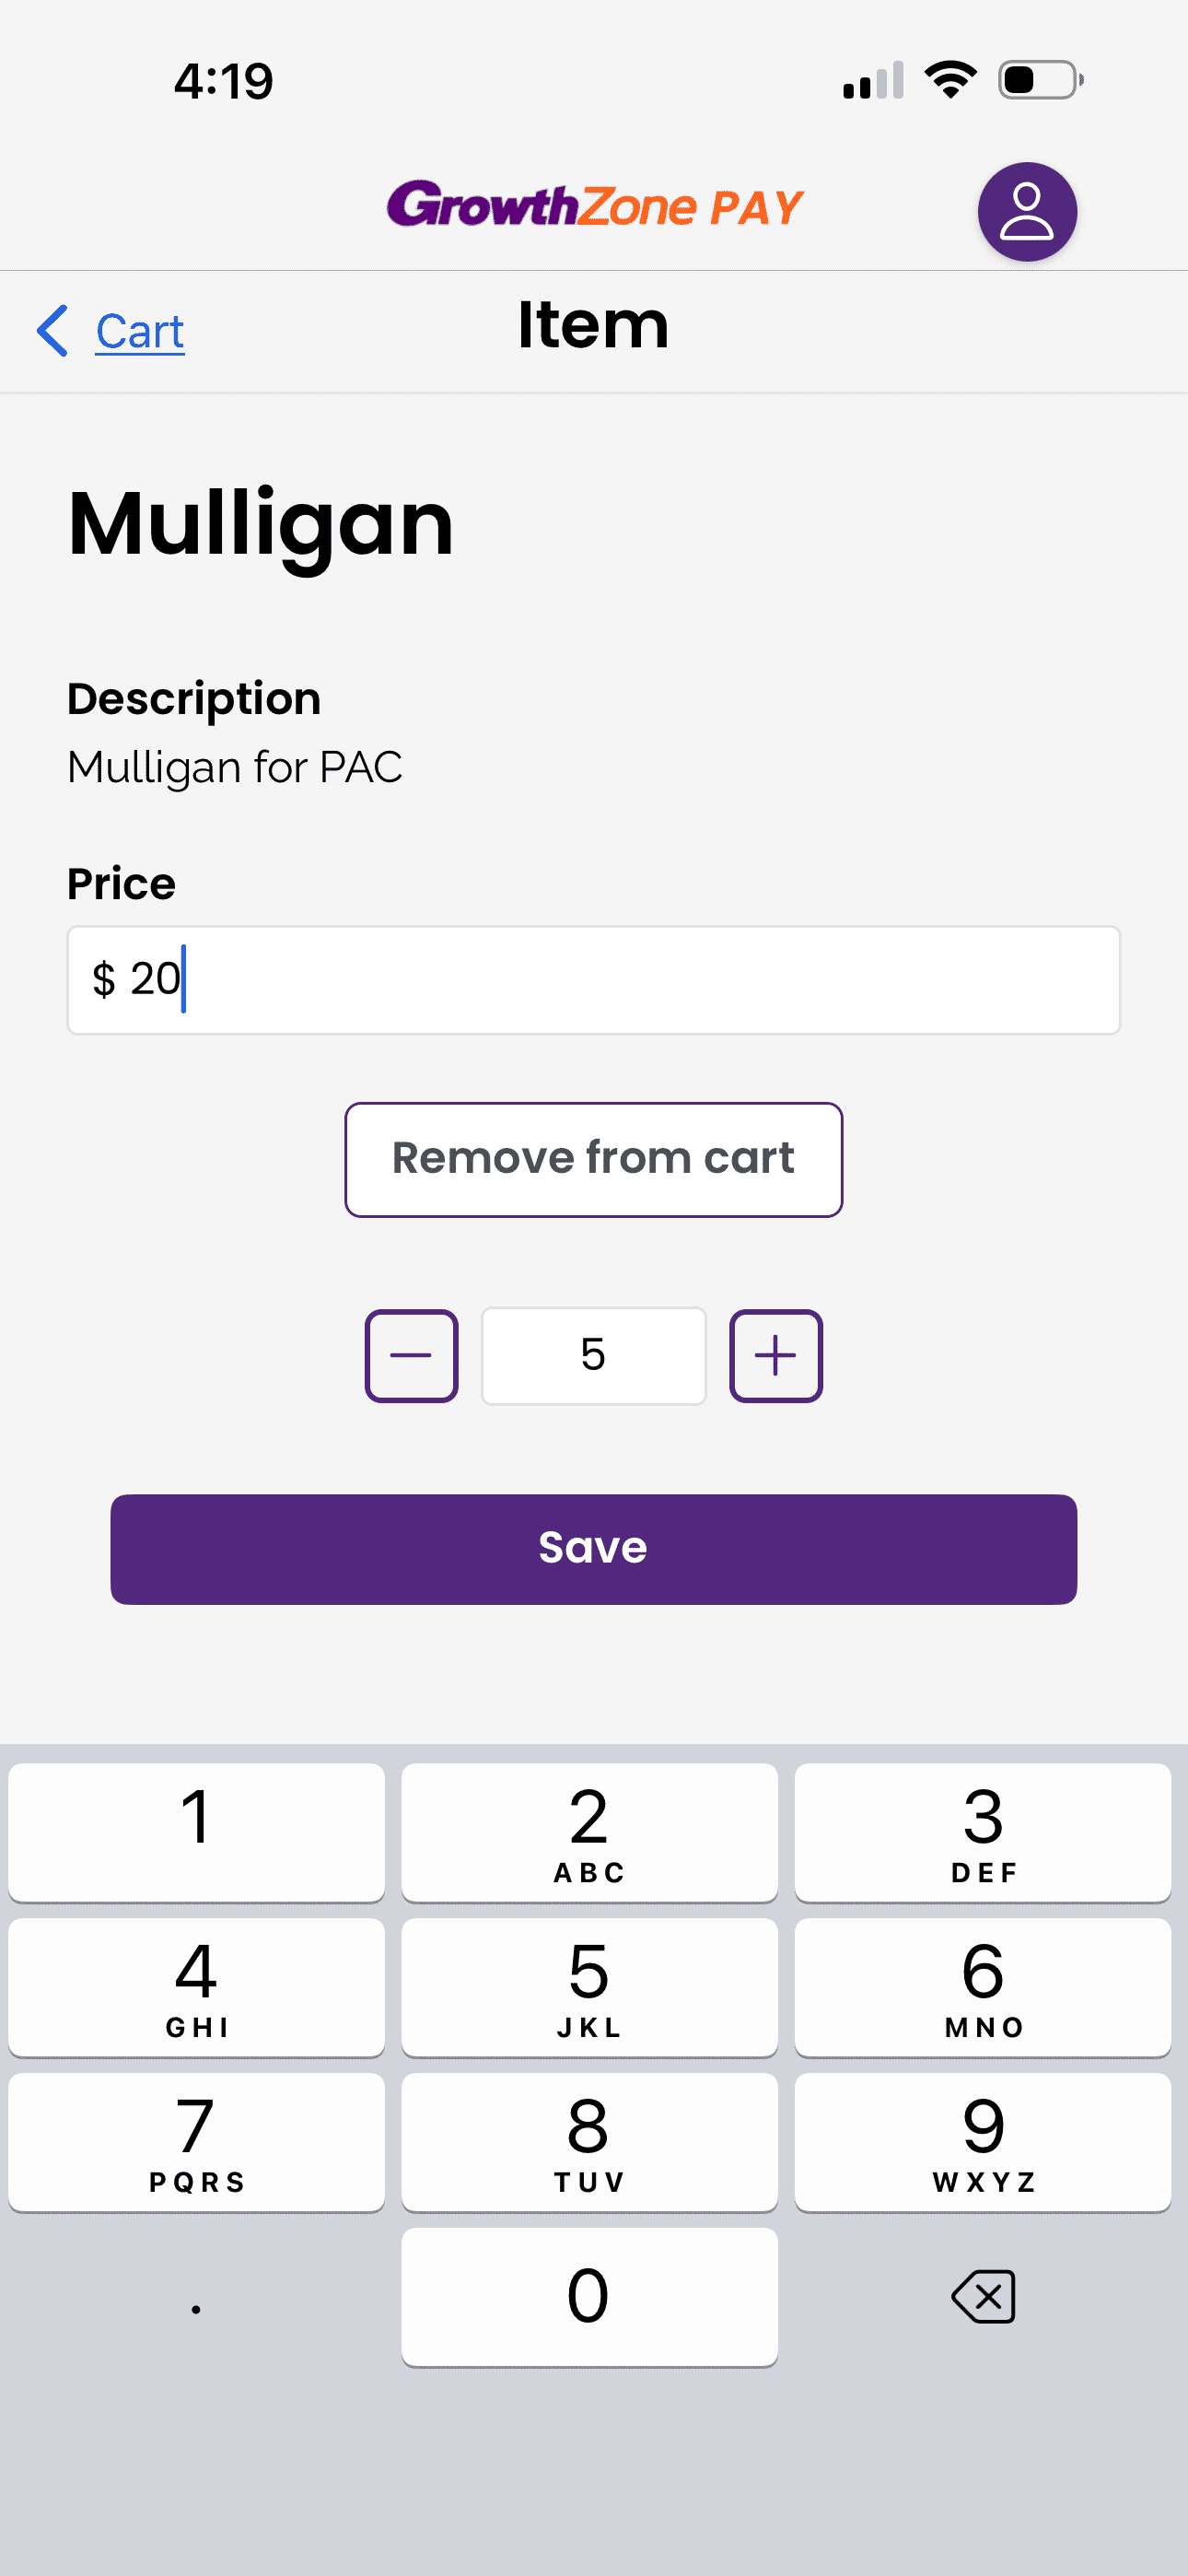
Cart Detail
Tap the Price field to adjust an item's price. In this example, we're adjusting the price of a Mulligan from $25 to $20 to offer a 5-for-$100 discount. Adjust the quantity of items using the plus or minus icons or the number field.
- Remove from Cart will remove the item from your cart.
- Tap on Save to save your changes, or tap on Cart to leave the screen without making any changes.
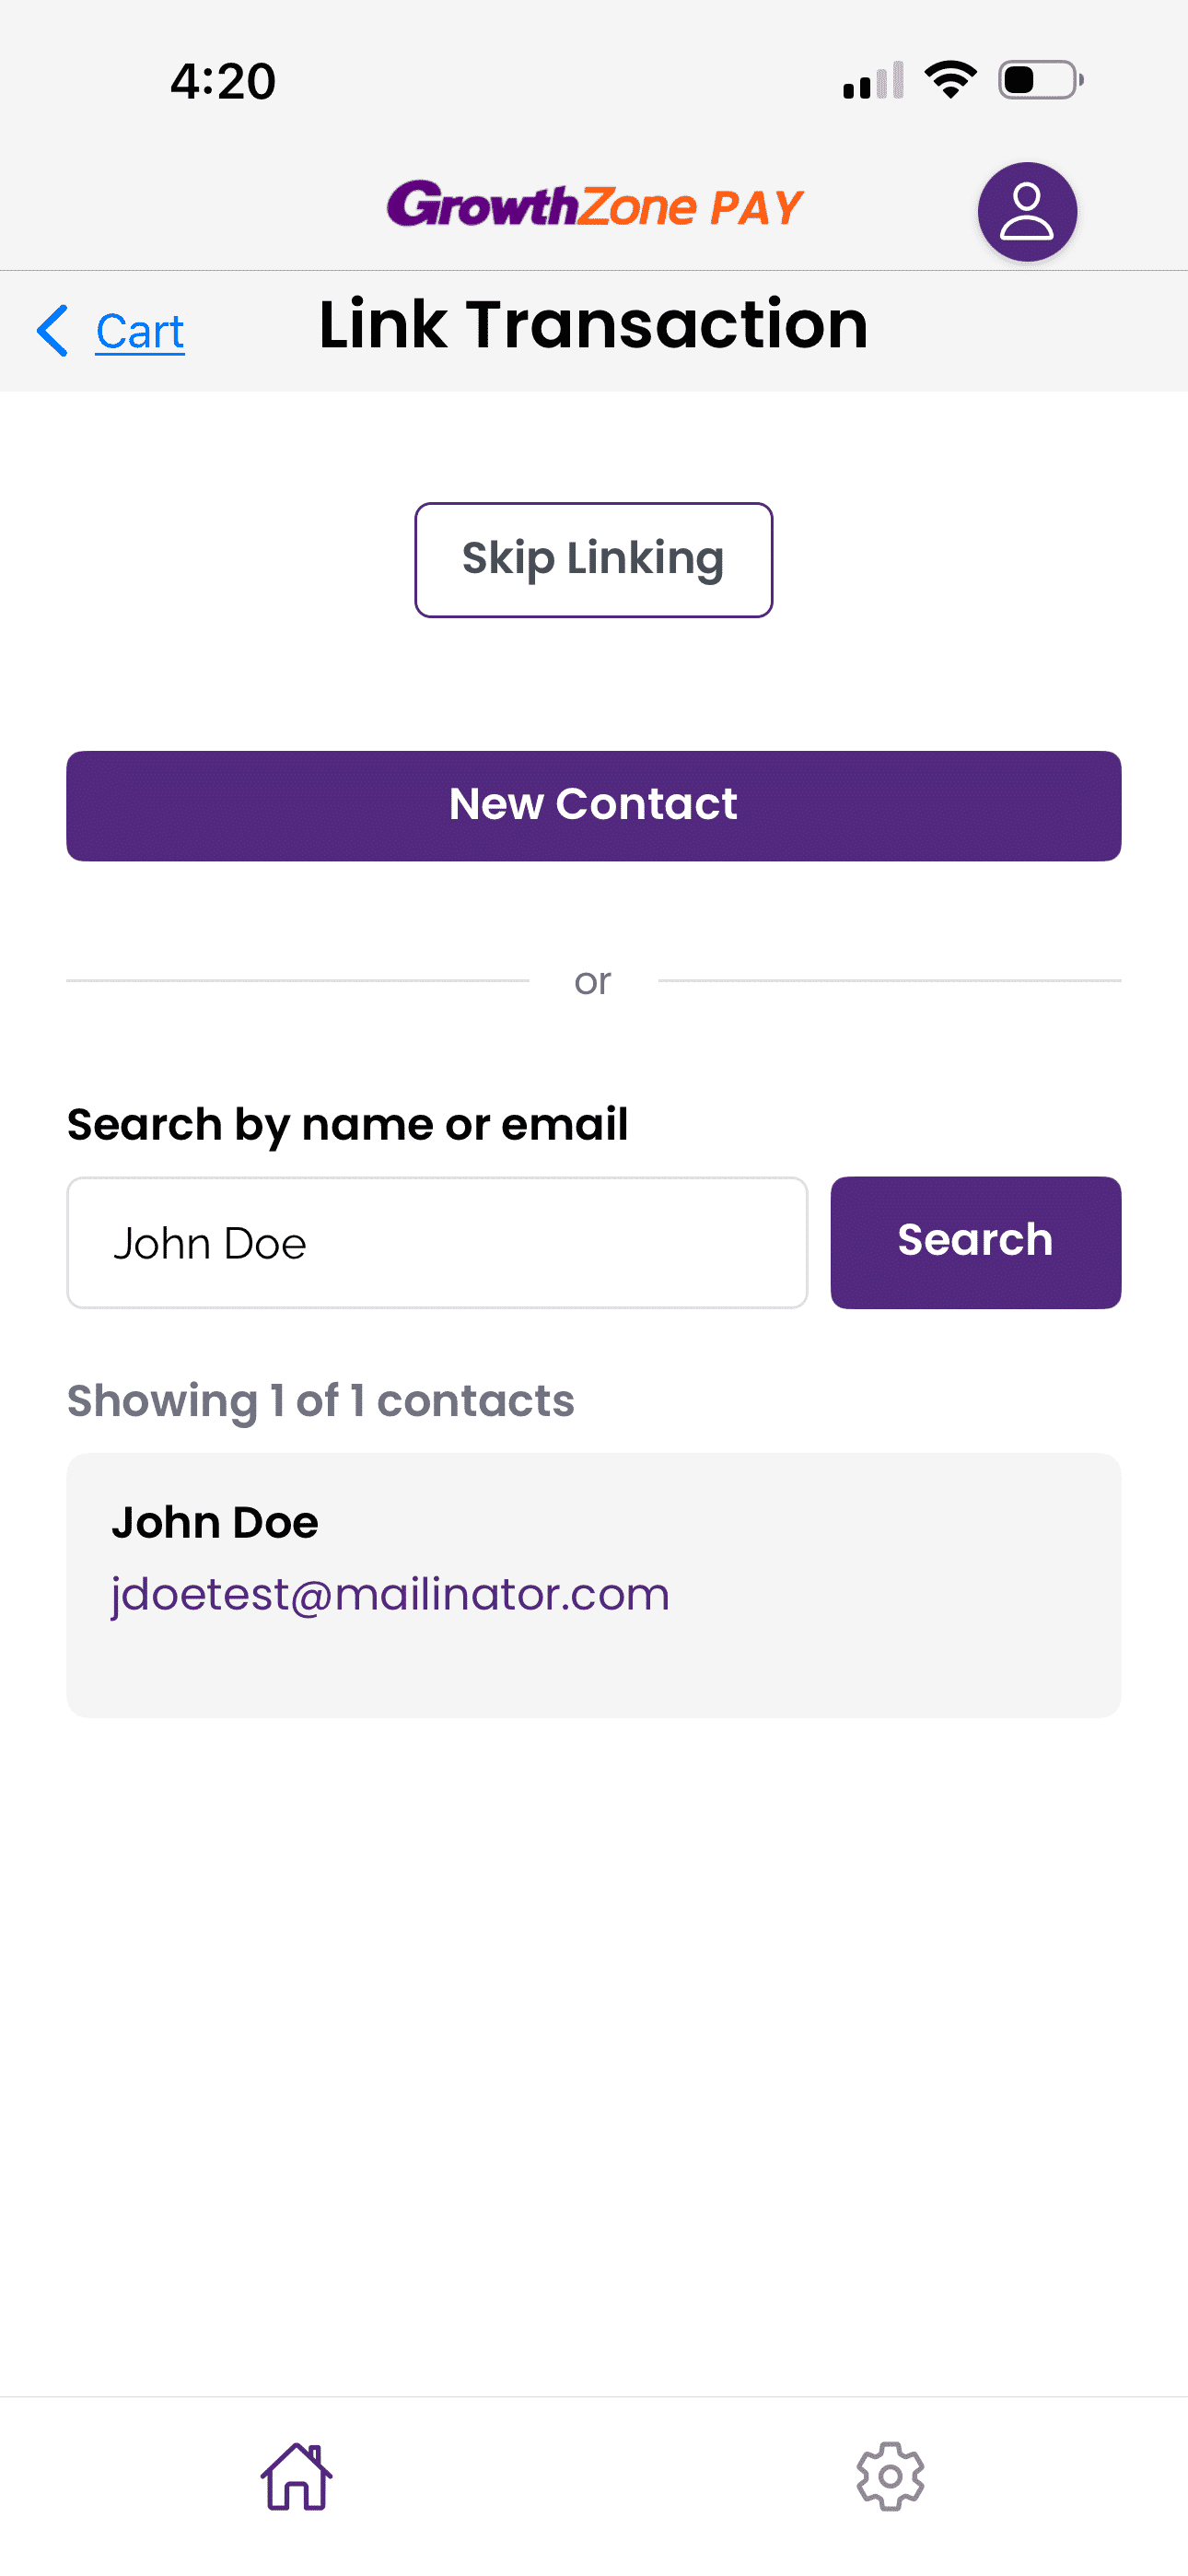
Link Transaction
Link a transaction to a contact to increase the accuracy of your payment records in GrowthZone. We recommend linking transactions that are meaningful to your relationship with a member or event attendee. For example, large PAC contributions, silent auction purchases, or payments for membership or sponsorship items are more useful in GrowthZone if you can see them in combination with other purchases, membership, and engagement information.
You can link a payment to a new or existing individual contact in GrowthZone. Tap New Contact to create a basic contact on the fly during the checkout process. use the name/email search to find an existing contact. After finding the contact, tap on their name card to link the transaction to them.
Conversely, food and beverage, merchandise, or other nominal purchases may not be worth tracking against a specific contact. Use the Skip Linking button to skip the transaction link for purchases like this.
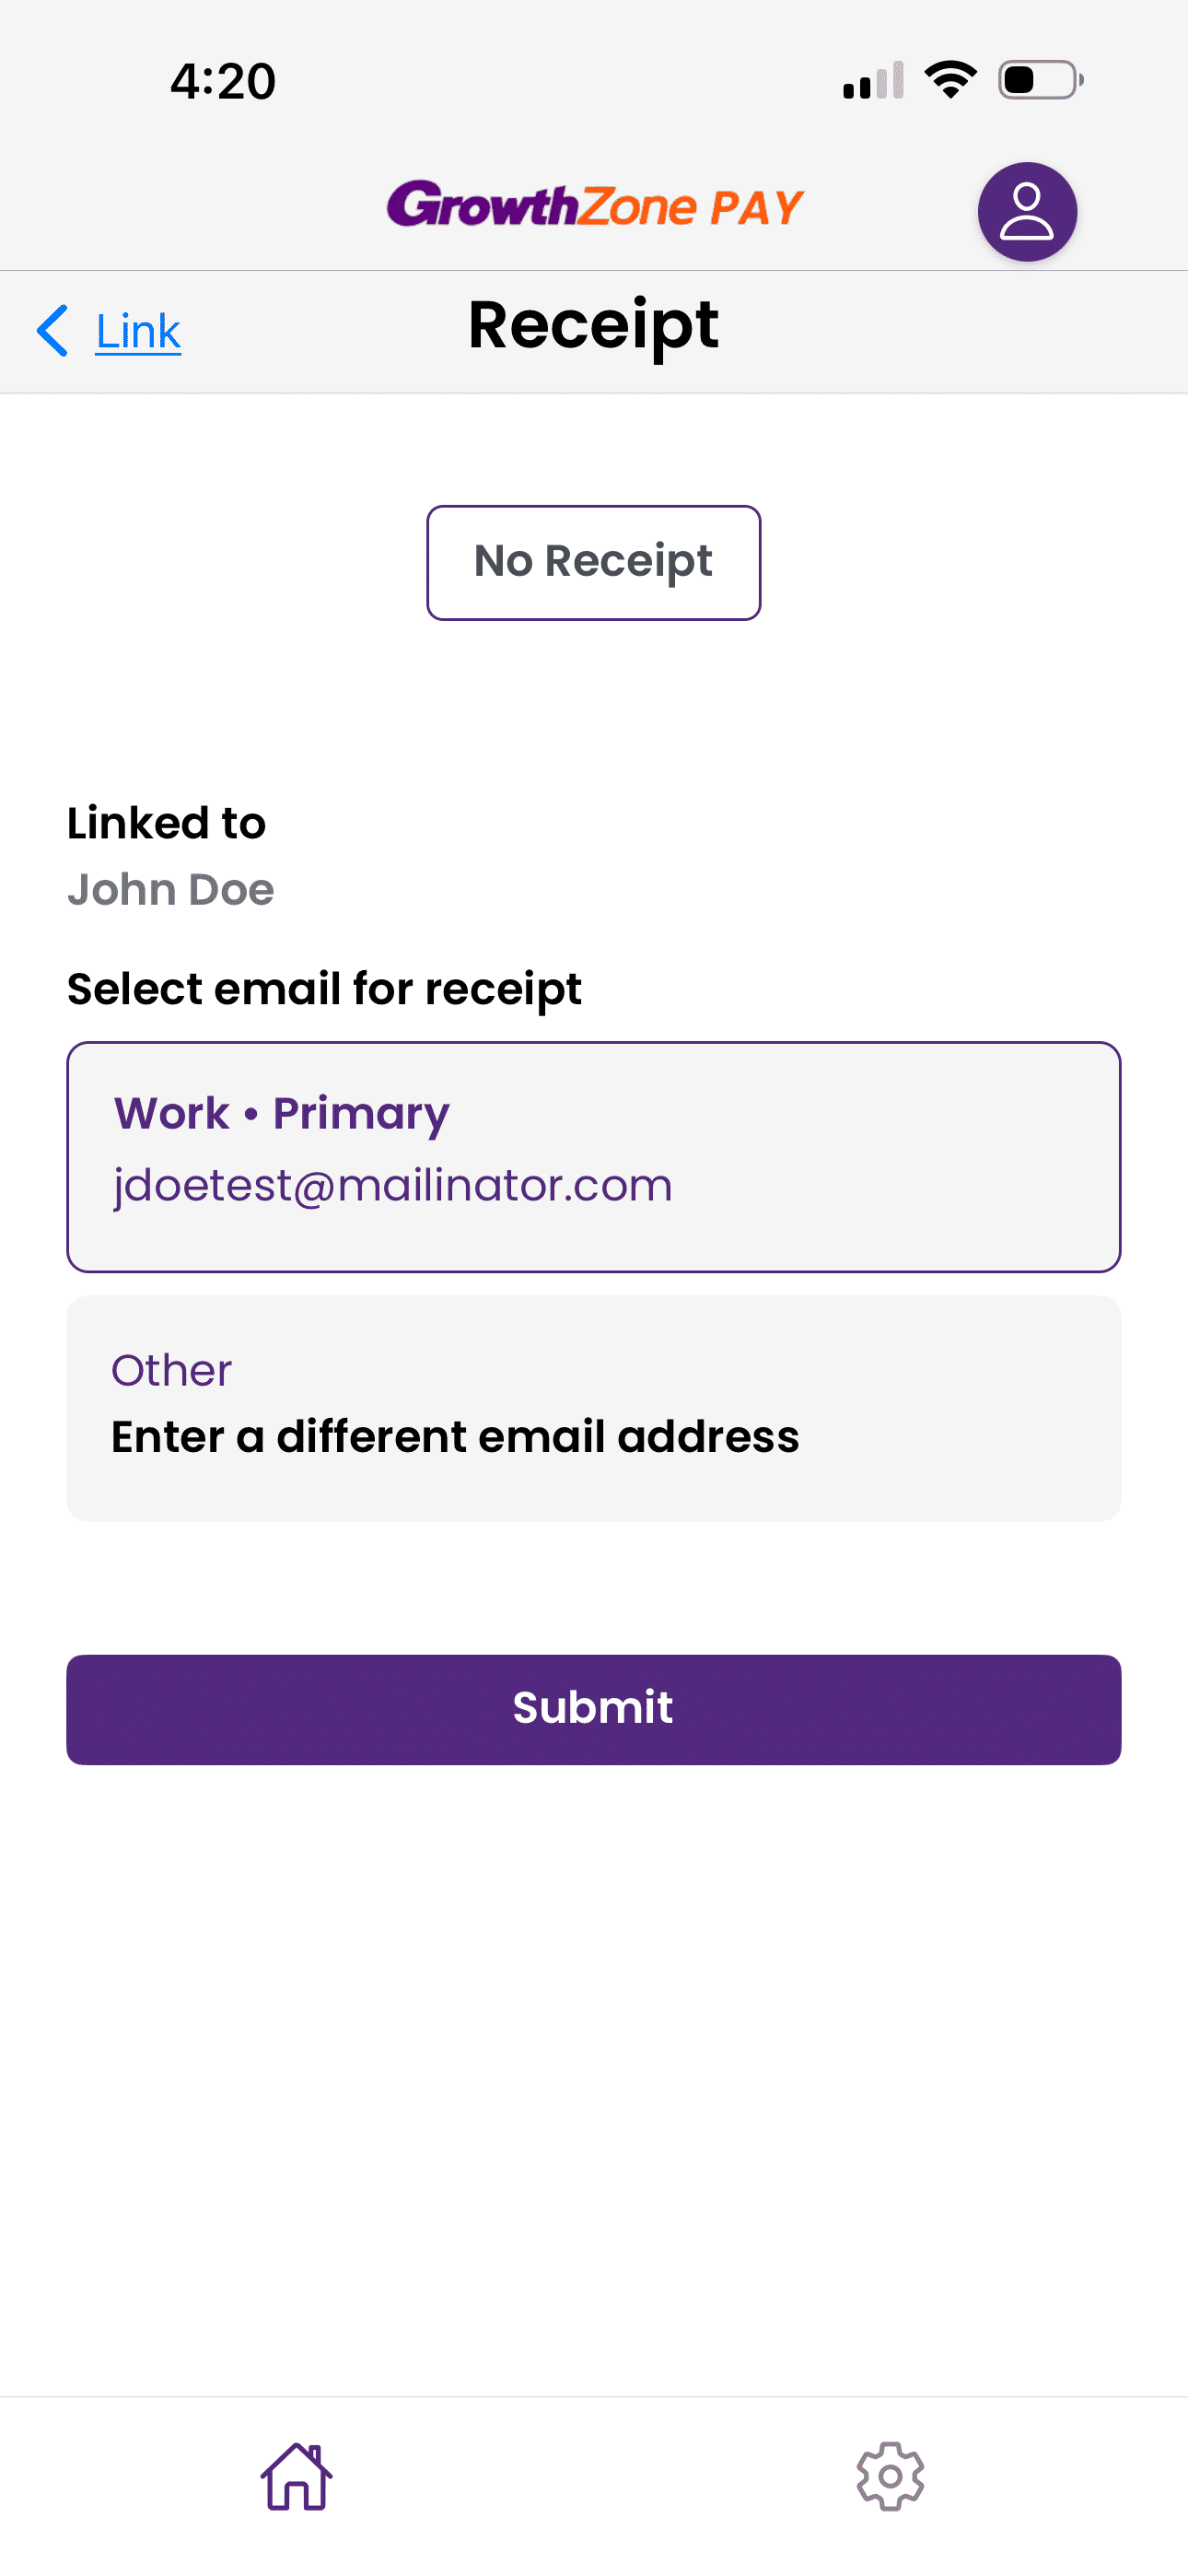
Email Receipt
The GZ Pay app can email a receipt to a new or existing email address as the penultimate step in accepting a payment. If you've linked a contact to the transaction you'll see that contact's primary email address. Tap on Other to add a different email address for that contact. Note, the Other email address will not be saved on the linked contact's record as a secondary email address.
If the purchaser does not need a receipt, tap No Receipt.
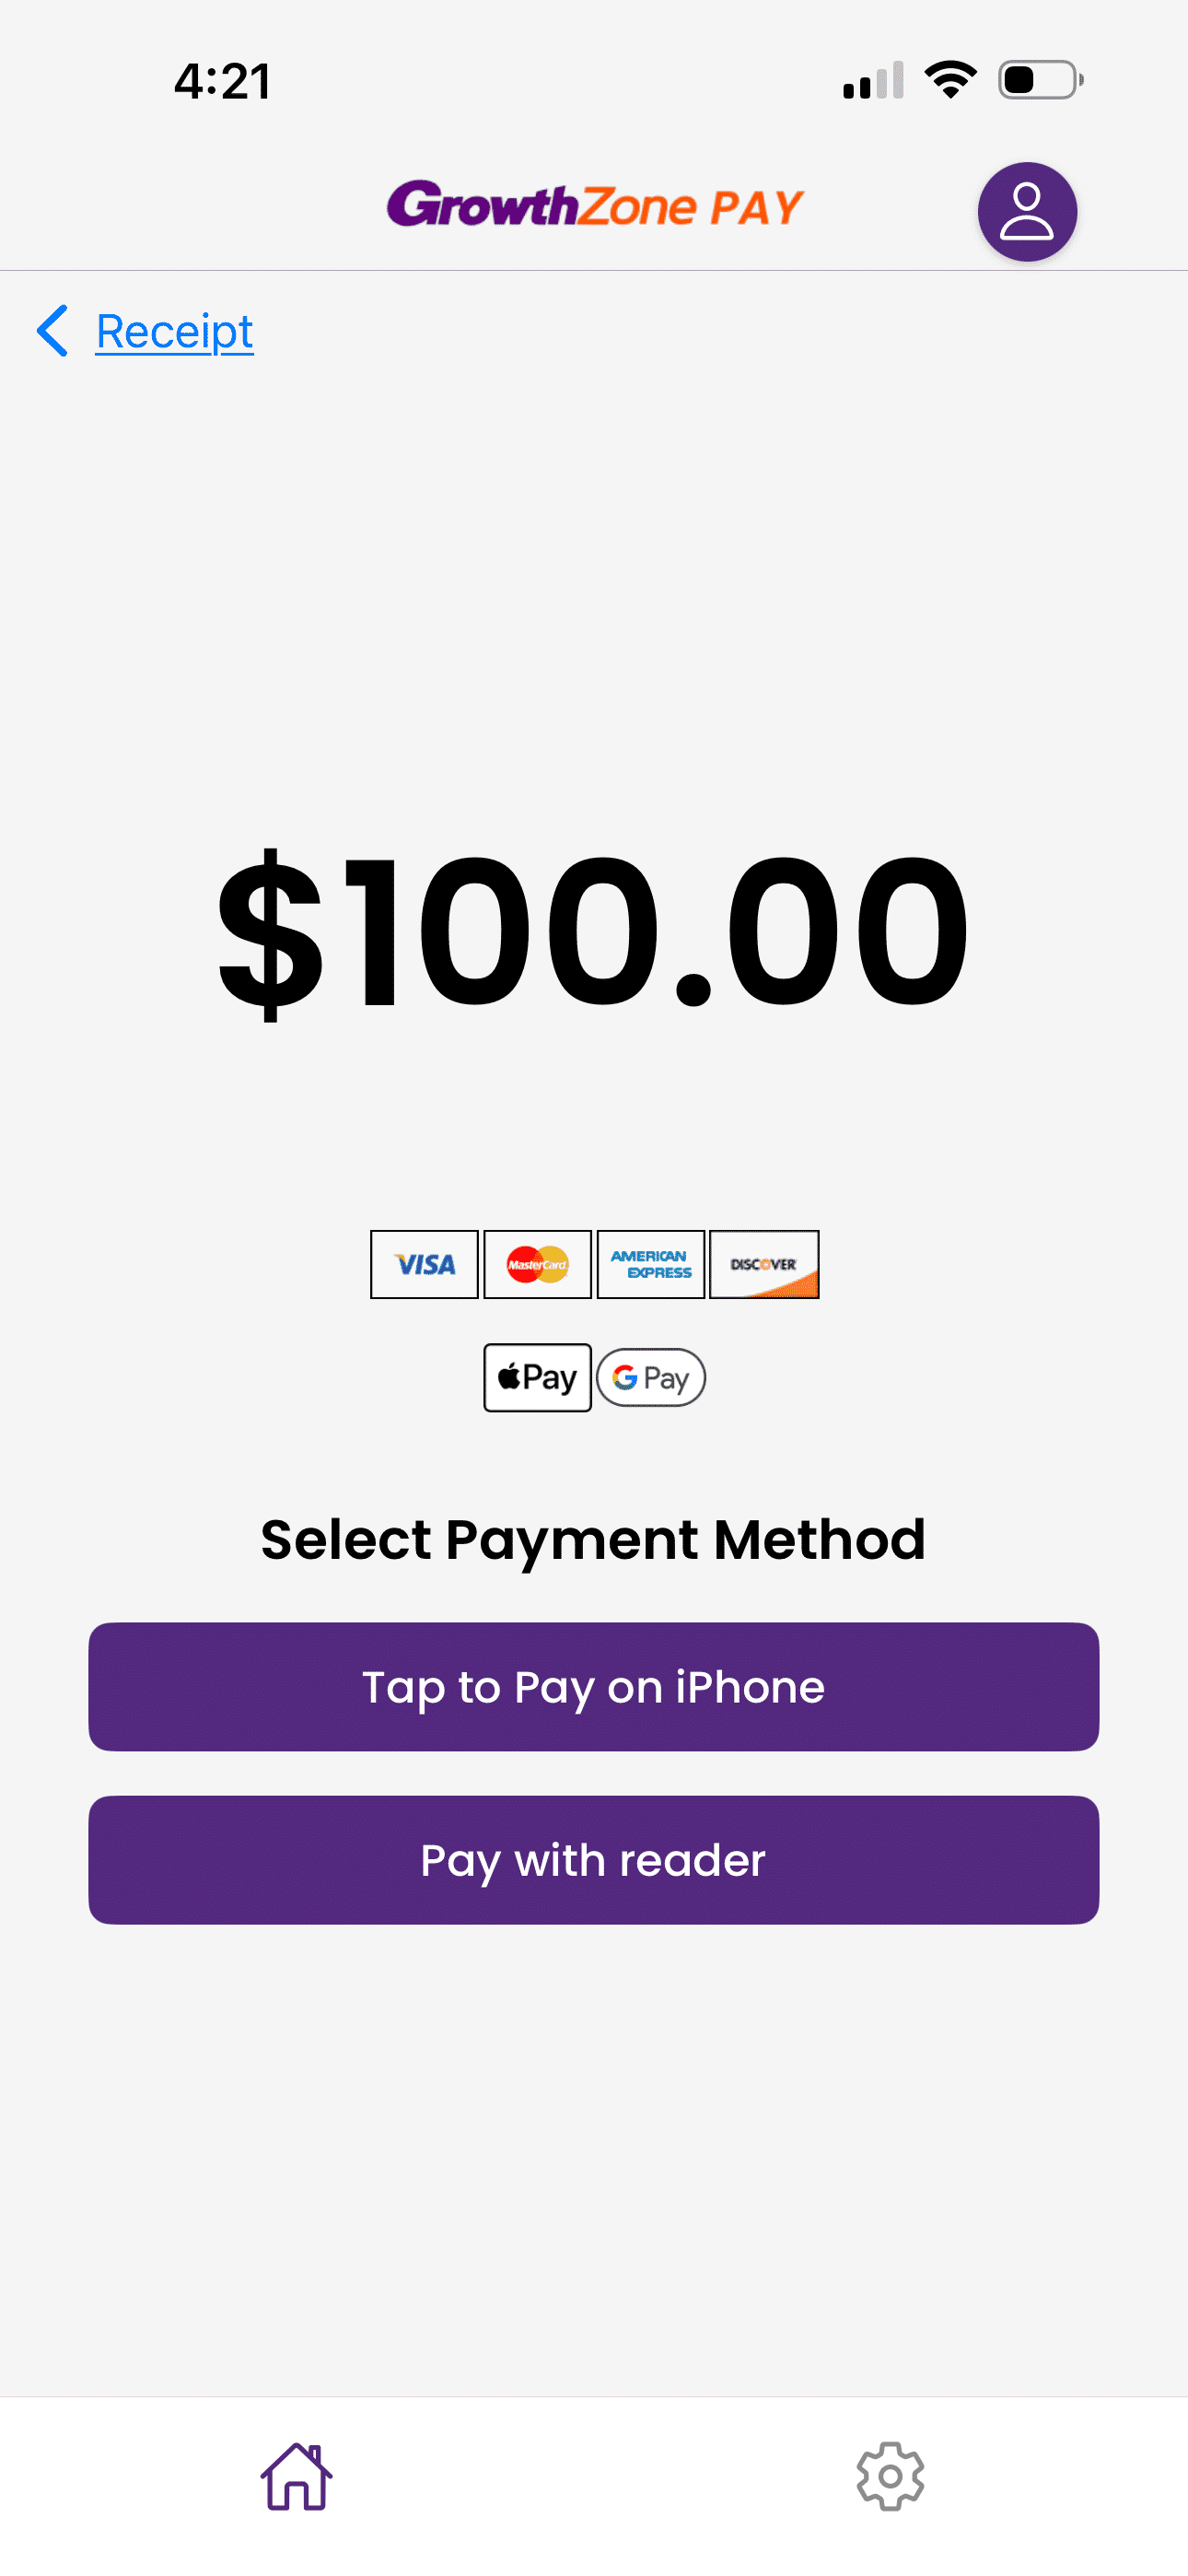
Reader Selection
Choose whether you'd like to complete the payment using Tap to Pay (iPhone only) or your connected Bluetooth card reader. After selecting an option, follow the prompts in the app to pay with a card or another contactless payment method.
Related Articles
Order Card Readers for GrowthZone Pay App
GrowthZone Pay App: Configure the App
GrowthZone Pay App: Configure your Fee Item(s)
GrowthZone Pay App: Configure your Default Contact
GrowthZone Pay App: Configure Your Payment Gateway
GrowthZone Pay App: Paying Open Invoices

