.png)

 6244
6244
There are two ways to create a new event.
- In the Events Module, click the "Add New Event" button in the upper right corner. or
- In the header bar, click the
 button and select "Add Event".

Both options will open the New Event Wizard.
In step 1, you will select whether you are creating a new event, or create from an existing event.
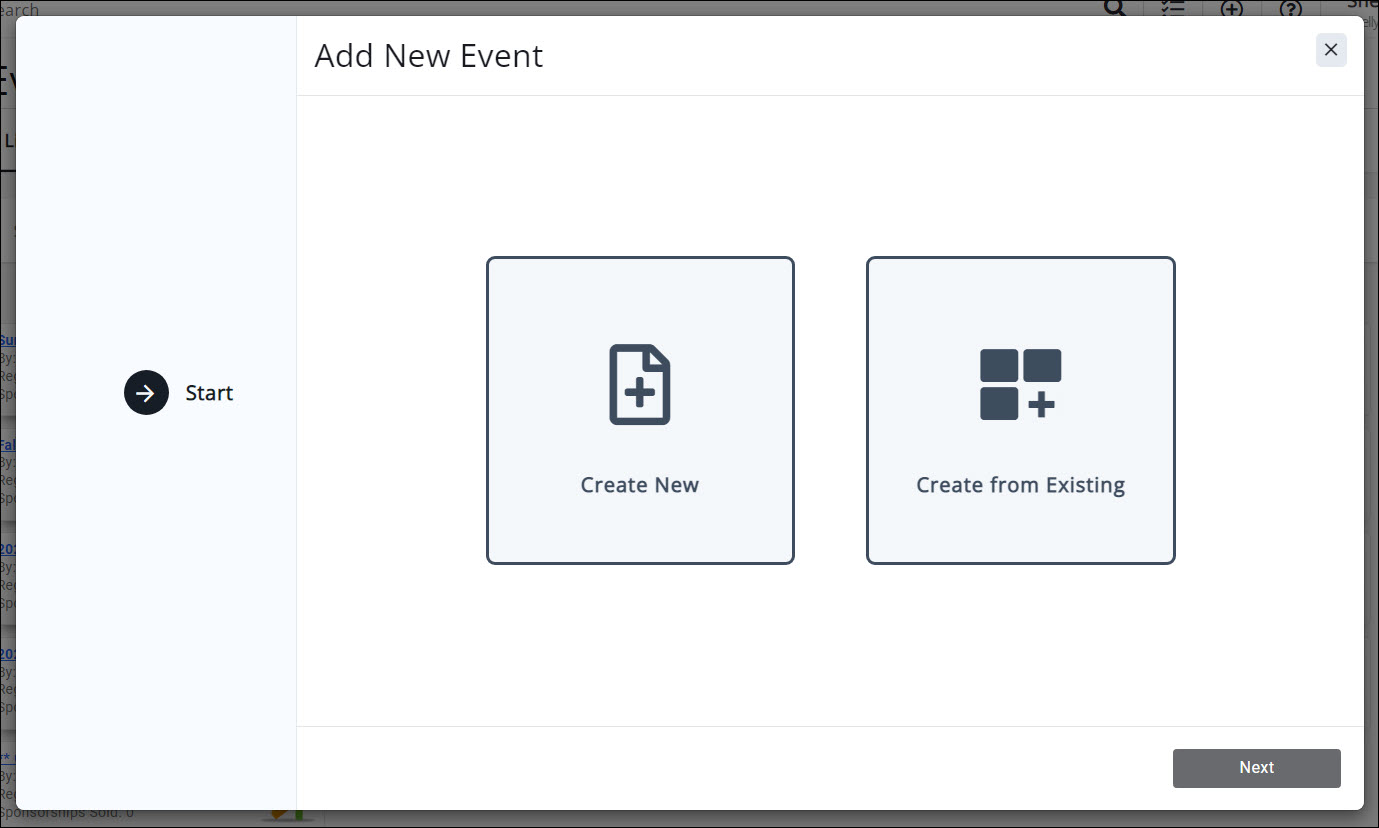
Creating a New Event
To create a new event, select the Create New option and click Next.

The wizard will advance to the "Event" step.
- Give your event a name. (REQUIRED)
- Enter a description of your event. (OPTIONAL)
- Click next

The wizard will advance to the "Date & Time" step.
- Enter a date and time for the event by clicking on the calendar icons. (REQUIRED)
- If it is an all day event, select the "All day" option.
- You can add additional details in the Time/Hours Description. (OPTIONAL)
- Click Next.

The wizard will advance to the "Location" step.
- Add the location name. (OPTIONAL BUT RECOMMENDED)
- If you have previously used this location in an event, a drop-down selector will allow you to choose a previously entered location, and will auto-fill all the previously entered fields for address, phone, etc.
- If this is a new location, enter the rest of the location information as needed/able.
- Enter a Location Description. (OPTIONAL)
- Click Next.

The wizard will advance to the "Contact" step.
- Enter the name of the contact for this event. (OPTIONAL BUT RECOMMENDED)
- If the contact is already in the database, the system will display a drop-down selector for you to choose the correct contact. Email addresses and phone numbers will be attached if they exist in the contact record.
|
|
NOTE: The Event Contact MUST be in the database prior to completing this step on the New Event Wizard. |
- In the Additional Contact details, you may add additional contact information (hours of availability, expected response times, etc.). (OPTIONAL)
- Click Next.

The wizard will advance to the "More Options" step.
- Using the dropdowns, select the following:
- Any applicable categories (OPTIONAL, but helpful for searching)
- Calendar or calendars the event should appear on (
- Published Status (REQUIRED)
- When entering an event via the back office, the Published Status will always be Approved unless otherwise selected.
- Publish Date (OPTIONAL)
- Click the calendar icon to select the date you wish the event to begin displaying on the calendar.
- Options
- You may enable registration if this is a free event and you do not need to set up any additional registration types.
- If you have the Expo module, you will be able to enable sessions and/or exhibitors for the event.
Click Done to complete the wizard.

Copy An Existing Event
There are two ways to copy an existing event.
- From the Events Module, select the "Add New Event" button to open the "Add New Event" wizard.
- From within the event you wish to copy, click the ellipsis next to the "View Event Page" button and select "Copy This Event".
Both options will open the Event wizard. Select the "Create from Existing" option and click Next.
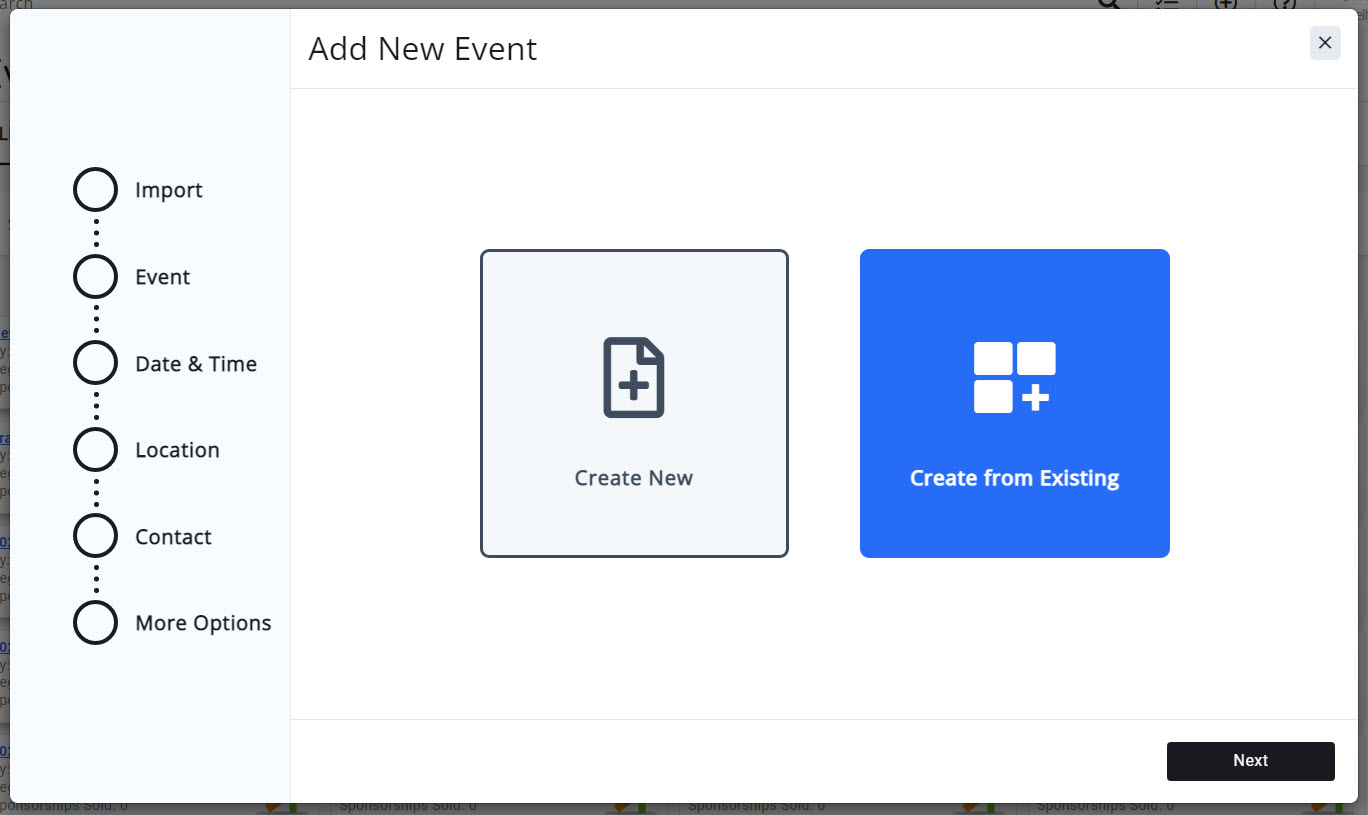
The wizard will advance to the "Import" step.
- If you have elected to copy an existing event from the "Add New Event" button in the Events module, you will be prompted to type the name of the event you wish to copy. Past events will display in a dropdown selector with their dates to allow for easier selection.

Searching for an event to copy. - If you selected the "Copy This Event" option from within an existing event, the "Event to Copy" prompt will contain the name of the event you are copying.

Initiating the Copy Event process from within a previous event.
- Once you have specified the event to copy, you can choose which data to bring over from the previous event. Select from the following options:

Copy options from an existing event to a new event. - Attendees: Selecting this will copy the registered attendees from the previous event to the new event. THIS WILL NOT CREATE INVOICES OR BILLING. If Invoicing or billing for the event attendees is required, they will have to be manually registered either via the back office by staff or by registering themselves via the online event registration page. Selecting this will also select the Attendee Setup option. You cannot copy Attendees without also copying Attendee Setup, as registration types need to be assigned to attendees (even though billing/invoices are not created).
- Attendee Setup: Selecting this will copy all previous attendee registration types, custom fields and registration discounts. In the case of discounts, depending on the discount type and/or discount setup, you may need to edit the Start Date and End Date options. Be sure to review Registration Discounts on the Attendee Setup tab when the copy process is complete.
- Sponsors: Selecting this will copy the registered sponsors from the previous event to the new event. THIS WILL NOT CREATE INVOICES OR BILLING, BUT WILL ATTACH THE PREVIOUS SPONSOR INVOICE TO THE NEW EVENT. If Invoicing or billing for the event sponsors is required, sponsors will have to be manually registered either via the back office by staff or by registering themselves via the online event registration page. Selecting this will also select the Attendee Setup option AND the Sponsor Setup option, as both registration types are required to set up a Sponsor (even though billing/invoices are not created).
- Sponsor Setup: Selecting this will copy all previous sponsor registration types. Selecting this will also select the Attendee Setup option, as attendee registration types are required to set up a Sponsor (even though billing/invoices are not created).
- Exhibitors: Selecting this will copy the registered exhibitors from the previous event to the new event. THIS WILL NOT CREATE INVOICES OR BILLING, BUT WILL ATTACH THE PREVIOUS EXHIBITOR INVOICE TO THE NEW EVENT. If Invoicing or billing for the event exhibitors is required, exhibitors will have to be manually registered either via the back office by staff or by registering themselves via the online event registration page. Selecting this will also select the Attendee Setup option AND the Exhibitor Setup option, as both registration types are required to set up an Exhibitor (even though billing/invoices are not created).
- Exhibitor Setup: Selecting this will copy all previous exhibitor registration types, custom fields and registration discounts. In the case of discounts, dates MAY BE REQUIRED (for Early Registration Discount types). Selecting this will also select the Attendee Setup option, as attendee registration types are required to set up an Exhibitor (even though billing/invoices are not created). In the case of discounts, depending on the discount type and/or discount setup, you may need to edit the Start Date and End Date options. Be sure to review Registration Discounts on the Exhibitor Setup tab when the copy process is complete.
- Files: any files associated to the previous event will be copied into the new event
- Tasks: any tasks associated to the previous event will be copied into the new event.
- Sessions: If selected, this will copy over Session information from the previous event into the new event. NOTE: Timeslots will be copied over as well, but will retain the previous event's dates; these will need to be updated. Sessions will retain their originally scheduled times. Selecting Sessions will also select Attendee Setup; you cannot copy Sessions over without also copying Attendee Setup, as sessions may be tied to registration types.
|
|
Did you know? Continuing Education components, if applicable, will NOT be copied over. Please assign those again as desired. |

The wizard will advance to the "Event" step.
- Name: (REQUIRED) By default, the Name field will contain "Copy of (previous event name)". Edit this if needed or leave it to edit later.
- Description: (OPTIONAL) Be default, the Description field will contain a copy of the previous event's description. Edit this if needed or leave it to edit later.
- Click Next to advance.

Editing the name and description of the new event.
The wizard will advance to the "Date & Time" step.
- Enter a date and time for the event by clicking on the calendar icons. (REQUIRED)
- If it is an all day event, select the "All day" option.
- You can add additional details in the Time/Hours Description. (OPTIONAL)
- Click Next to advance.

Selecting the new event date and time.
The wizard will advance to the "Location" step.
- Edit the location if needed; the wizard will use the previous location of the event by default. (OPTIONAL BUT RECOMMENDED)
- If you have previously used this location in an event, a drop-down selector will allow you to choose a previously entered location, and will auto-fill all the previously entered fields for address, phone, etc.
- If this is a new location, enter the rest of the location information as needed/able.
- Enter a Location Description. (OPTIONAL)
- Click Next to advance.

Setting the new event location.
The wizard will advance to the "Contact" step.
- The wizard will display the contact information for the previous event by default; edit the contact listed if needed. (OPTIONAL)
- If the contact is already in the database, the system will display a drop-down selector for you to choose the correct contact. Email addresses and phone numbers will be attached if they exist in the contact record.
- If this is a new contact, enter their name, email, and organization.
- In the Additional Contact details, you may add additional contact information (hours of availability, expected response times, etc.). (OPTIONAL)
- Click Next to advance.

Selecting the contact responsible for the new event.
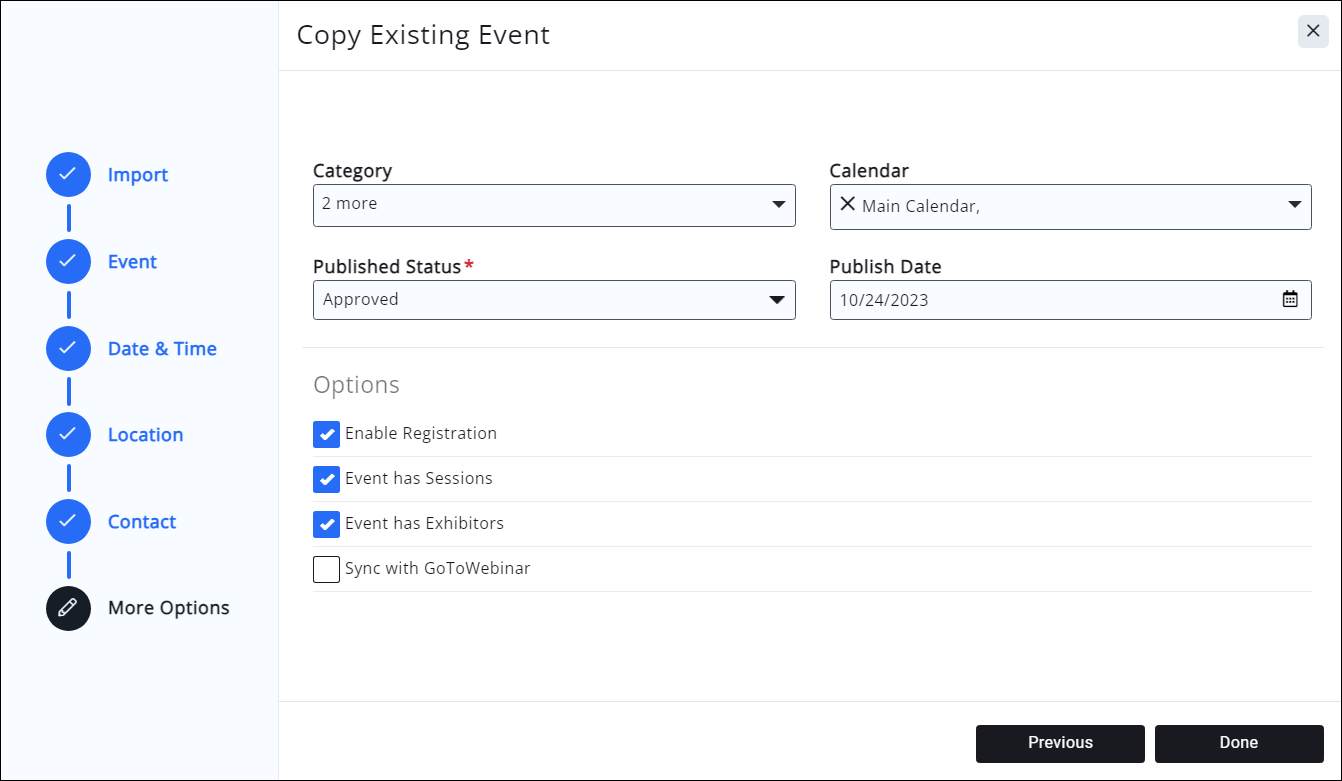
The wizard will advance to the "More Options" step.
- Using the dropdowns, select the following:
- Any applicable categories (OPTIONAL, but helpful for searching)
- Calendar or calendars the event should appear on
- Published Status (REQUIRED)
- When entering an event via the back office, the Published Status will always be Approved unless otherwise selected.
- Publish Date (OPTIONAL)
- Click the calendar icon to select the date you wish the event to begin displaying on the calendar.
- Options
- Enable Registration will be enabled if you chose to copy Attendee Setup. If you did not copy Attendee Setup, you may enable registration if this is a free event and you do not need to set up any additional registration types.
- Event Has Sessions will be enabled if the previous event had sessions. Please note that sessions do not copy due to database logistics with times/dates; you will need to set up new timeslots/sessions for the copied event. If you have the Expo module and your previous event did not include sessions or exhibitors, you will be able to enable sessions and/or exhibitors for the event.
Click Done to complete the wizard and complete the setup of the new copied event.
The event is now fully copied and will open in your web browser for any further editing you may wish to do.
|
|
REMEMBER! If you are including Sessions in your copy process, you will need to go and edit the dates for the timeslots. |

