 3604
3604
Community is a new integration for GrowthZone subscribers. To use this feature, you must subscribe to the Community module. Contact the Account Management team if you are interested in adding this module to your subscription.
Once you are subscribed to the Community module, GrowthZone staff will be responsible for getting the integration set up and functional. When functionality is confirmed, you may then enable Community on selected lists/committees in GrowthZone.
|
|
IMPORTANT! To enable the Community Interaction option, the list/committee in GrowthZone must have ANY Primary Category EXCEPT "Email List". (See default categories under the blue box below.) It does not matter if you created the list using the "Add List/Committee" or "Add Email List" button; what enables the Community Interaction option is the Primary Category of the list. |
For a new list/committee:
Adding contacts to a list/committee:
- To add one contact: Add a Contact to a List/Committee
- To add multiple contacts:
Note: any staff included in the list/committee will automatically be applied as admin for the Community group.
Enabling the Community Interaction option
- Once the list is set up (or is already ready to go), confirm that the Primary Category is NOT set to Email List. By default, there are four List/Committee Categories:
You can set up as many List/Committee categories as you like in your system; you may need to experiment with your custom list/committee categories to find the correct one for your system (or select one of the known default primary categories below instead).
- Staff: this will set the list up as a list/committee, and will allow the Community Interaction option to appear.
- Board Members: this will set the list up as a list/committee, and will allow the Community Interaction option to appear.
- Email Lists: this will set the list up as an email list, and the Community Interaction option will NOT be available for this list.
- Member Engagement: this will set the list up as a list/committee, and will allow the Community Interaction option to appear.
- Once you have verified the Primary Category of your list allows for the Community Integration option to appear, scroll down in the General tab to the General Settings area and check the Enable Community Interaction option.
- Enable Community - When enabled, the list/committee will be passing over group membership at the top of each hour. This option does not show on Lists/Committees that have a primary category of Email List. Email lists are for email subscriptions and do not show in the List/Committee section of the Info Hub.
- Show Community Option in Info Hub - When enabled, will display the Community icon next to the List/Committee when viewed in the My Info section of the Info Hub for those who belong to this list/committee.
- Manage Community Settings - a URL that can be copied into another tab in the browser of the staff person that will open up to the Community site to the spot where they can manage the group settings. This URL is only going to give proper results to those listed as Admins of the Community group. Staff that are included as a contact in the GZ List/Committee will automatically be passed over as the admin of the Community group.

Enabling the Community options and the Manage Community Settings link.
- By enabling the Enable Community Interaction option, GrowthZone will automatically enable BOTH Users can see List in My Info or My Subscriptions and Users on List can view other Users on List options; these are required in order for the community icon/link to appear in the Info Hub, and for the list contacts to interact with each other in the Community.

Hub Display Options automatically enabled with a Community list interaction. - Scroll back to the top of the tab and click the Save button to save your changes.
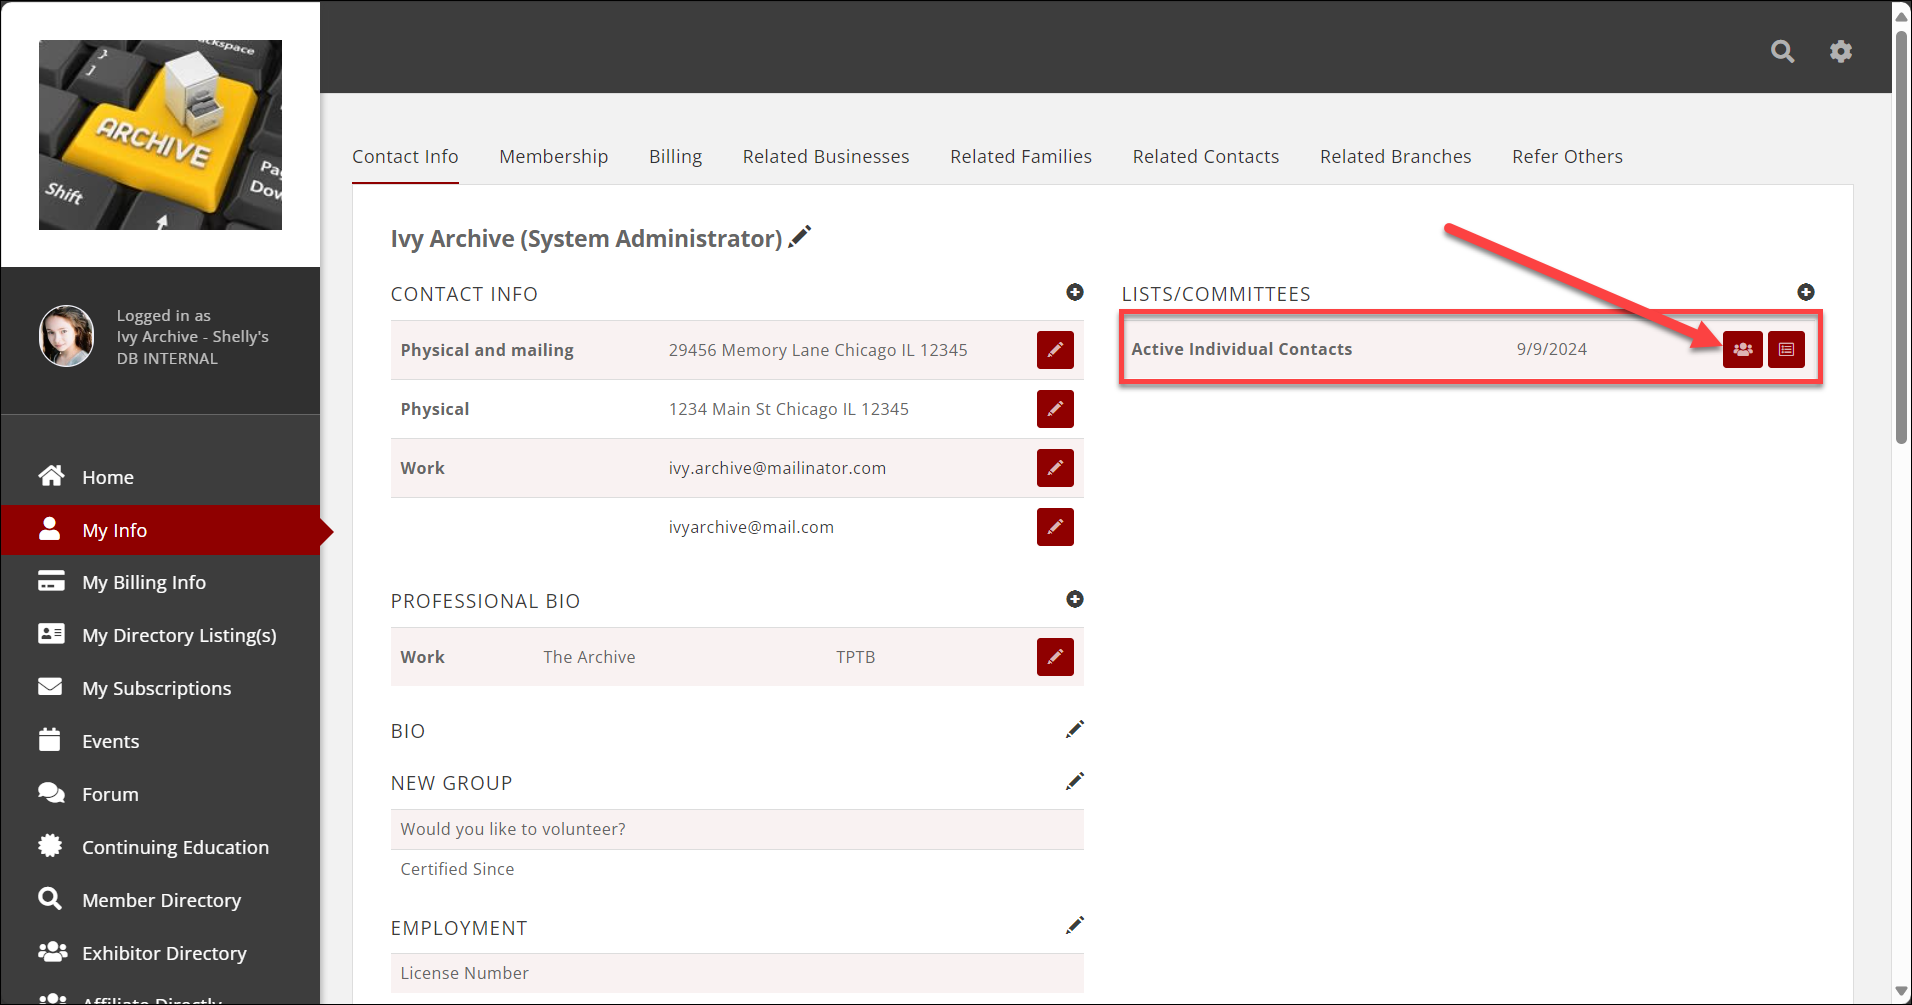
That's it! When enabled, the list/committee will be syncing group membership in near-real time to the Community platform; staff that are included in the list/committee will automatically be passed over as the admin of the Community group. Members of the list will see an additional icon, visible on the Contact Info tab of the My Info section under Lists/Committees. They can click this icon to access the Community Integration function for that list.

View Community Enabled Lists
You can view at a glance which lists you have enabled the Community Interaction option on.
- Navigate to your Lists/Committees module
- Click the Table Settings gear icon
 in the lower left corner of the GrowthZone window.

Clicking the Table Settings icon - Enable the Show option for the Community module

To enable the display in your Lists/Committees module, enable the Show option for Community - Click Done to save.
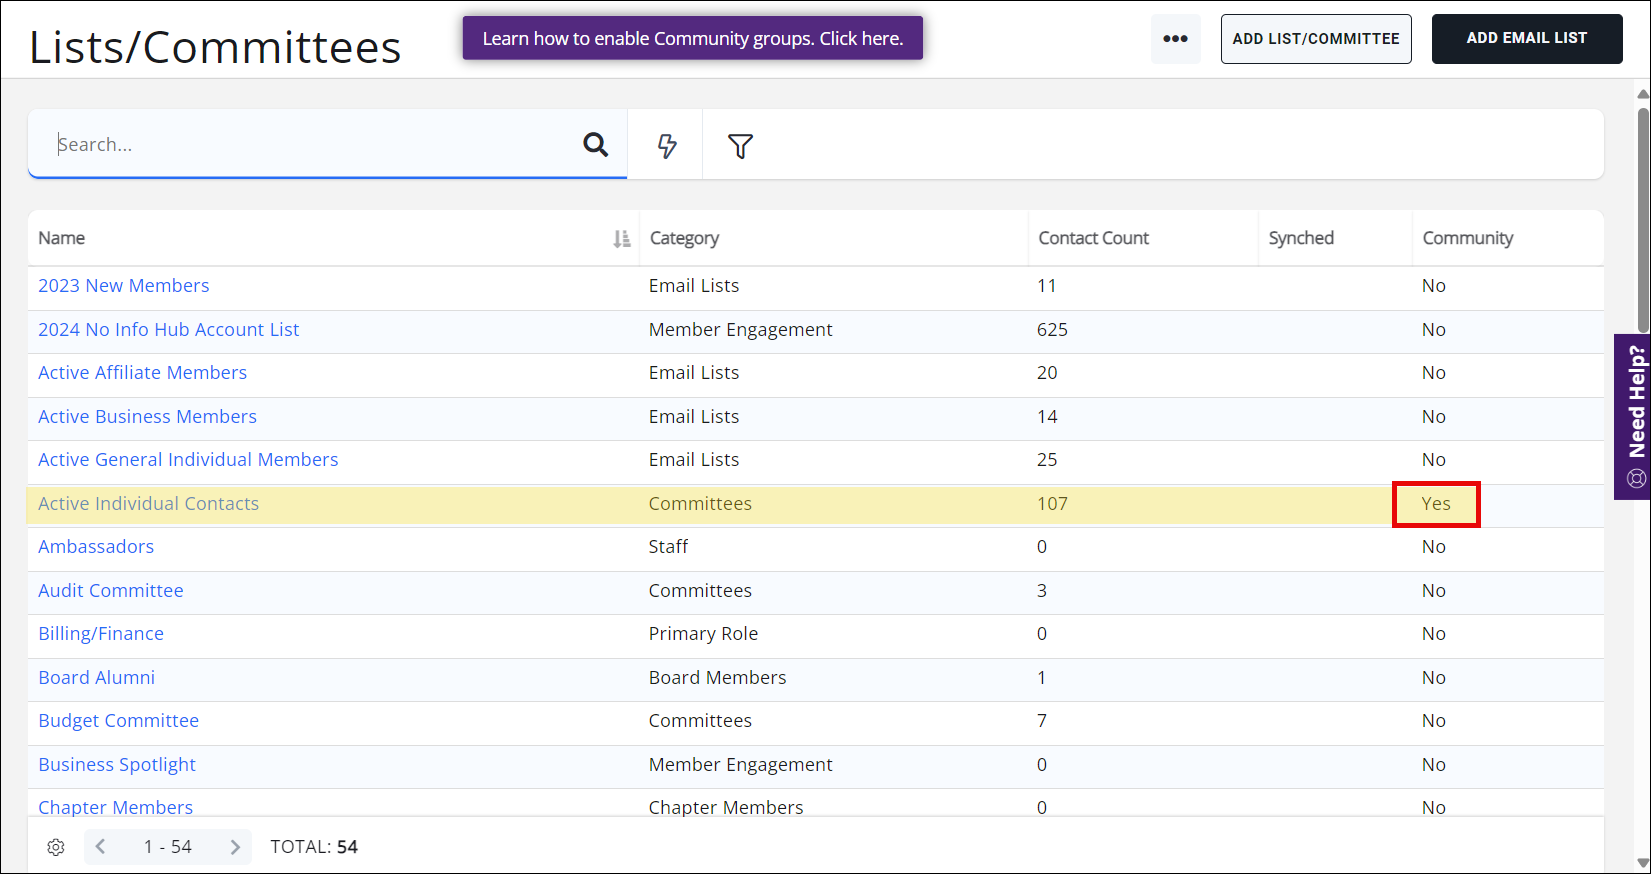
After your page refreshes it will show a new column called Community, which will indicate which lists have the Community Interaction option enabled.


